How to polish a car by hand: 8 Easy Steps to Brilliant Shine
I still remember the feeling of pride the first time I meticulously hand-polished my dad’s old 1998 Honda Civic. That car had seen countless sunny days and rainy commutes. It was back in my high school days, around 2005, and its faded red paint looked dull and lifeless. With just a bottle of polish and some microfiber towels, I spent an entire Saturday afternoon, section by section, carefully rubbing away years of neglect. The transformation was incredible; the paint not only regained its vibrant color but also had a depth and shine I hadn’t seen on it before. Polishing a car by hand is more than just a chore; it’s a rewarding labor of love. Discover how you can dramatically enhance your vehicle’s appearance, bringing back that lost sparkle and protecting its finish. While it certainly demands patience and a bit of elbow grease, this manual approach gives you a unique level of control, allowing you to truly connect with your car and see impressive results without needing fancy power tools.
Getting Started: What You Need to Know Before Polishing by Hand
Before you dive into the hands-on process of polishing your car, it’s helpful to understand a few key things. This includes knowing what hand polishing actually involves, how much time you should set aside, and which products will give you the best results. Getting this basic knowledge down before you start can make a huge difference in how your car looks at the end and how much you enjoy the process.
How to Polish a Car by Hand for Beginners
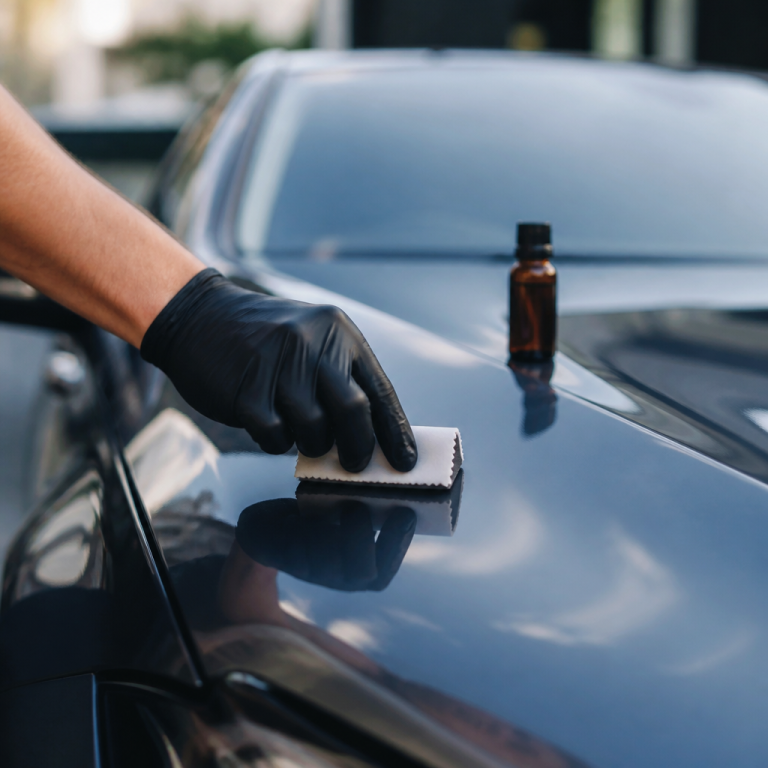
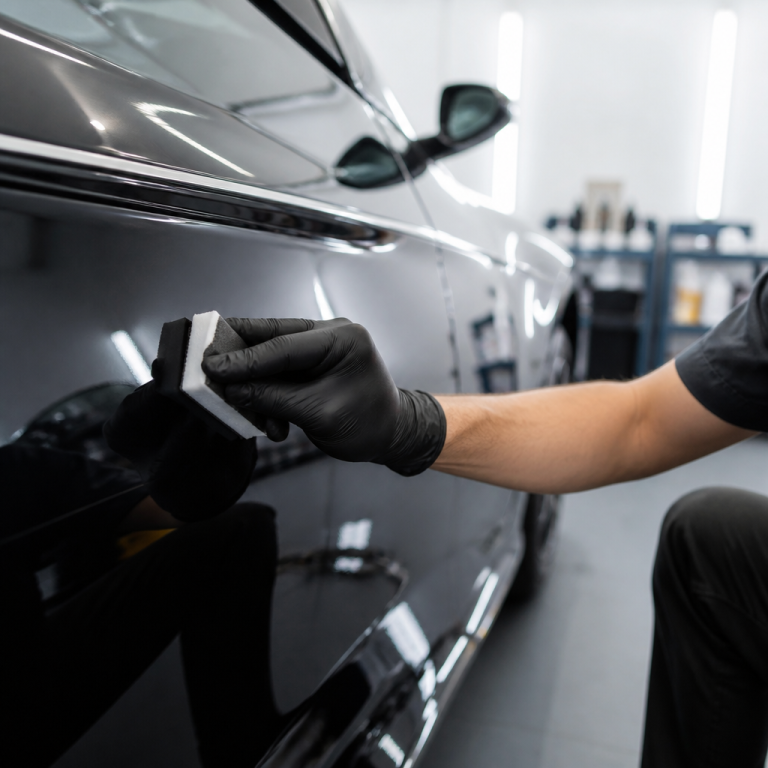
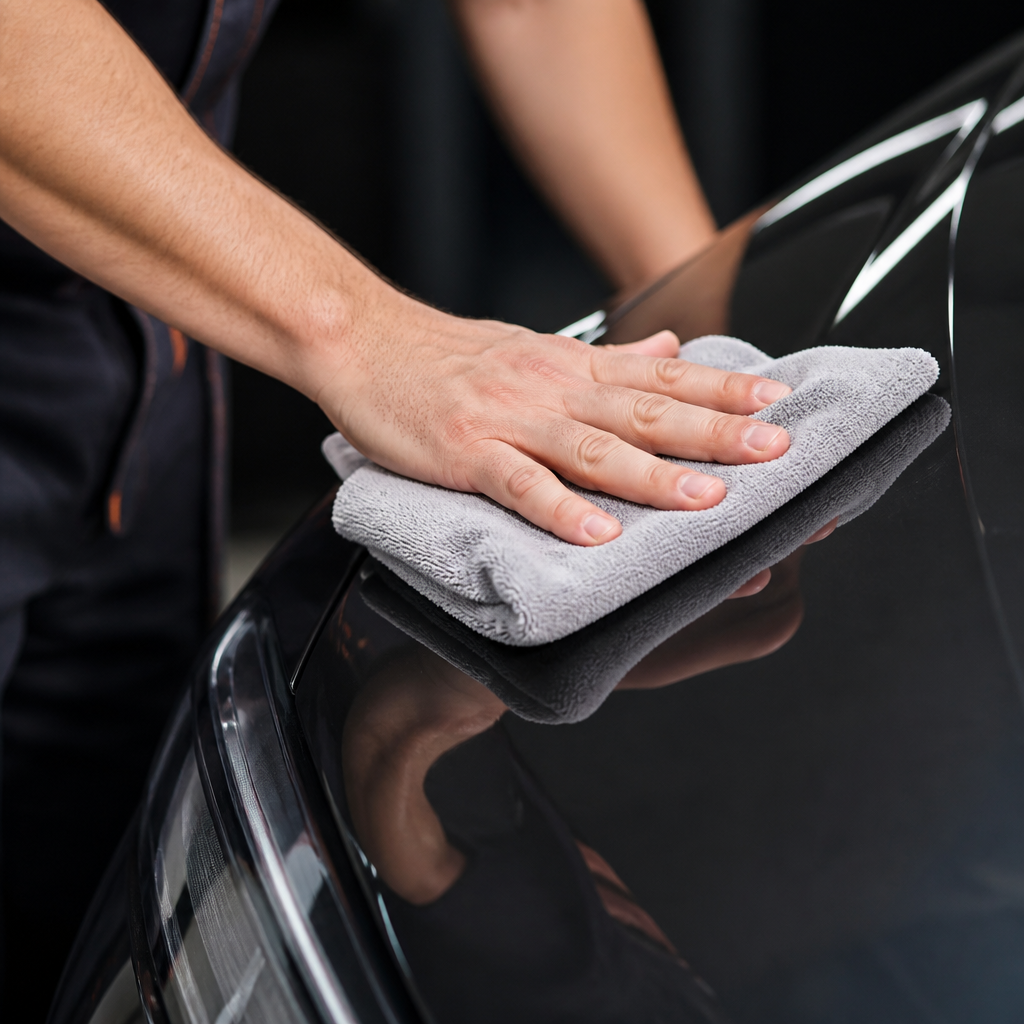
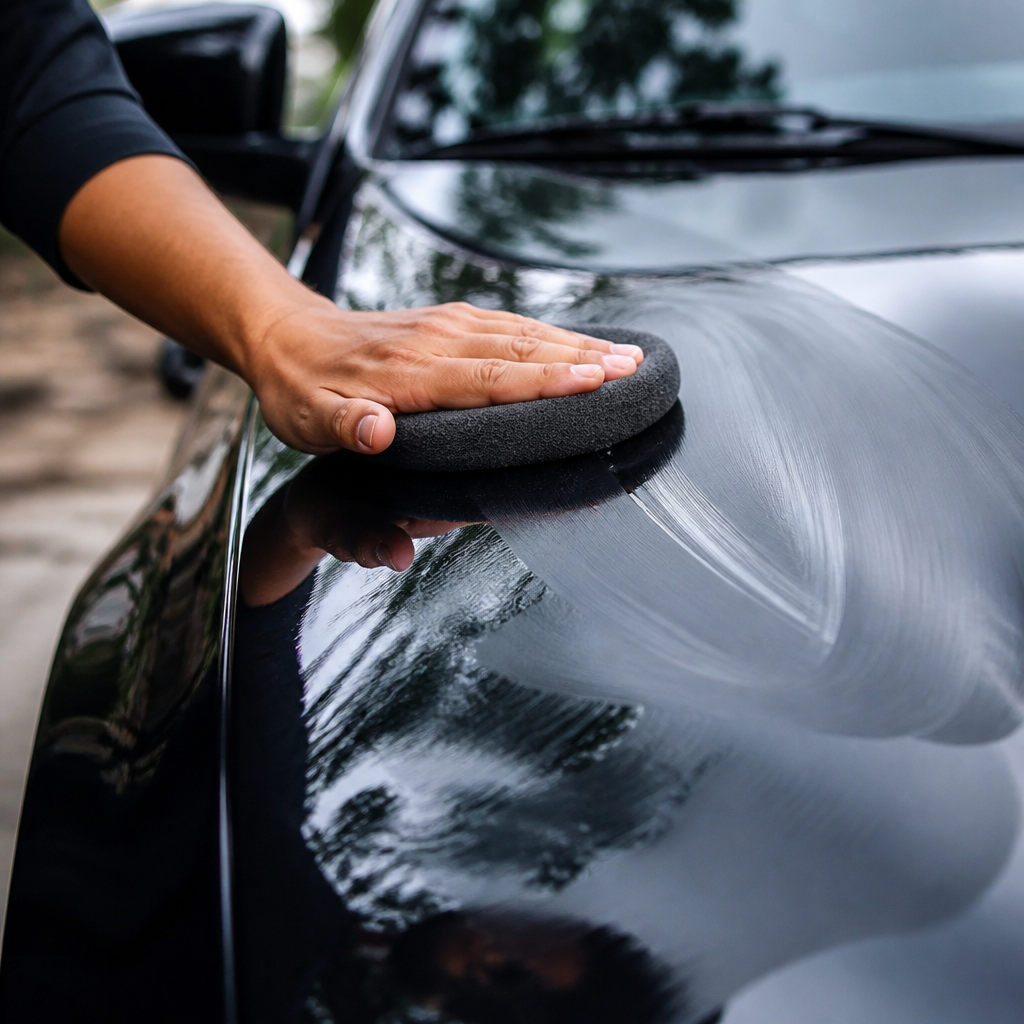
Hand polishing a car is a careful process where you apply special abrasive compounds to your car’s paint. You do this by hand, usually using soft applicator pads or microfiber cloths, rubbing in circular motions. The main goal is to gently remove tiny imperfections, like light swirl marks or faded spots (oxidation), and bring back the paint’s natural, shiny look without using any electric tools. This method, while requiring more physical effort, gives you a lot of control, which is especially great for beginners.
For anyone trying hand polishing for the very first time, an essential first step is to pick a hidden area on your car, like a lower part of a door panel, to do a “test spot.” This practice area lets you get a feel for the technique and see how the polish you’ve chosen works with your car’s specific paint. It helps you figure out if the product is too strong or not strong enough, allowing you to adjust before you start on the more visible parts of your car.
The weather and environment where you work play a big part in how successful your hand polishing will be. The best temperature for this kind of work is usually between 60-80°F (15-27°C). It’s also super important to work in the shade, _as direct sunlight can make the polishing compound dry out too quickly on the paint_. When polish dries too fast, it becomes difficult to work with and remove, often leaving streaks or residue that are a pain to clean up.
When picking your products, expert detailers, like Mike Phillips, suggest that beginners start with a “finishing polish” instead of a more aggressive “cutting compound.” This careful approach helps keep your car’s clear coat – the protective, clear top layer of paint – safe while still making the paint look much shinier and clearer. You can always use a stronger product later if needed, but once you remove paint, you can’t put it back!
How long does it take to polish a car by hand?
The amount of time it takes to hand polish a car can vary a lot, mostly depending on how big your car is and what condition its paint is currently in. For example, a regular sedan typically needs a good 3 to 6 hours of dedicated effort for a thorough hand polishing, while larger vehicles could demand more. The overall condition of your car’s paint, especially if it has a lot of faded spots or many scratches, will also significantly impact the time needed.
| Vehicle Size | Estimated Time to Polish by Hand |
|---|---|
| Compact Car | 2 – 4 hours |
| Standard Sedan | 3 – 6 hours |
| SUV / Truck | 6 – 8 hours |
It’s always best to break the car down into smaller, manageable sections, roughly 2×2 feet at a time. For each of these sections, you should plan to spend about 2 to 3 minutes actively working the polish into the paint. This focused application ensures that the abrasive compounds have enough time to properly break down and effectively correct any imperfections.
It’s also important to have realistic expectations. Professional detailers often point out that getting similar results by hand can take about four to five times longer than using a dual-action machine polisher. Patience and a good understanding of the time commitment are key when you choose the hand method.
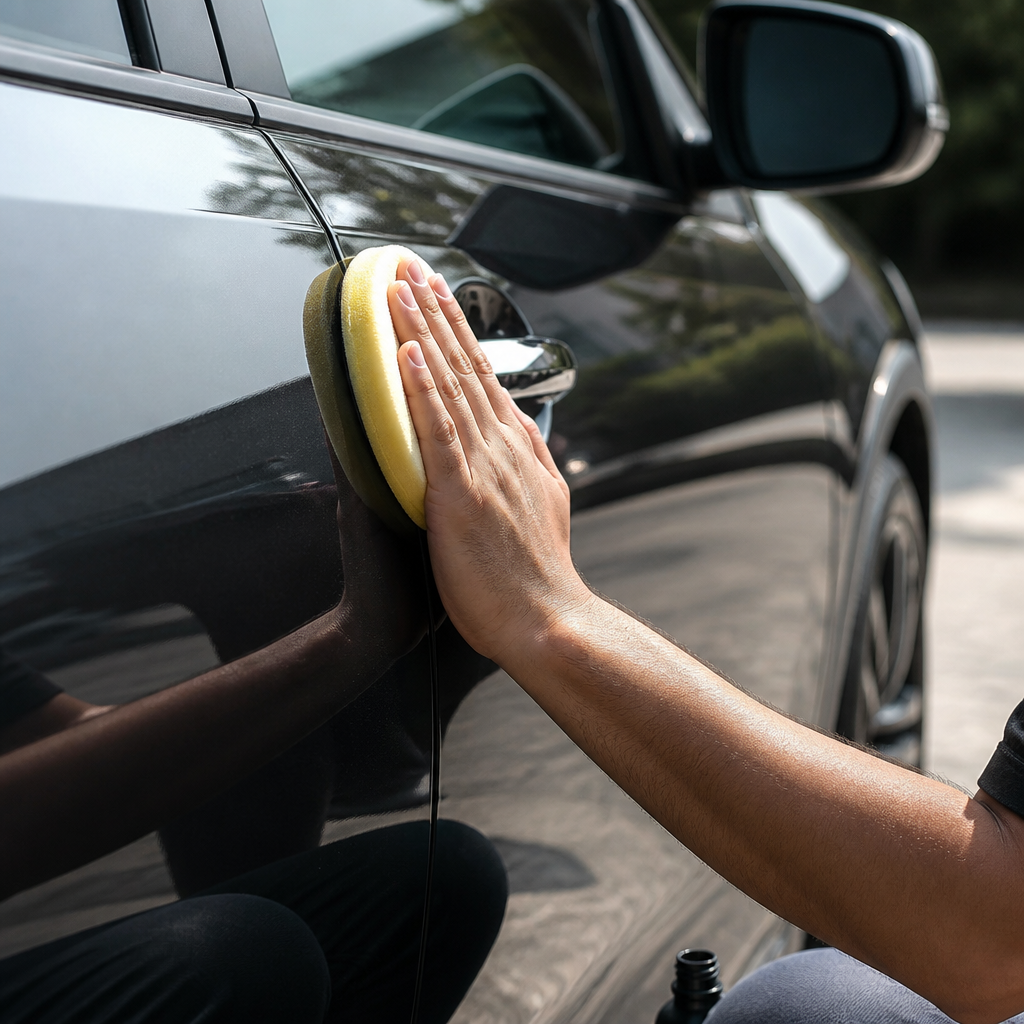
What Are the Best Products for Polishing a Car by Hand?
Hand polishing products are specially made with specific sizes of abrasive particles and lubricating oils. These formulas are designed to work effectively with just your hands, allowing you to correct paint imperfections without needing power tools. Understanding the different categories—cutting compounds, polishes, and finishing polishes—helps you pick the right product for the specific problems you want to fix on your car.
When it comes to products for hand polishing, several brands consistently get high marks for how well they work. Here are some top choices:
- Meguiar’s Ultimate Compound & Ultimate Polish: These are often mentioned as top choices. Ultimate Compound is known for its “diminishing abrasives technology,” which is great for tackling imperfections without being overly aggressive.
- Chemical Guys V-Series Compounds (V32-V38): This series offers a range of cutting power specifically formulated for hand application, with V38 being their finest finishing polish.
- Mothers California Gold Pure Brazilian Carnauba Cleaner Wax: A great all-in-one option for beginners, this product combines gentle polishing agents with protective wax, delivering noticeable improvements in fewer steps.
Larry Kosilla, a professional detailing instructor, really emphasizes how important a product’s “working time” is for hand polishing.
He suggests choosing formulas that stay wet and workable for 2-3 minutes. Products that dry too quickly can prevent the abrasives from breaking down properly and make it hard to get even results, especially since you don’t have the speed advantage of a machine polisher.
The applicator pad you use is just as important as the polish itself. Microfiber applicator pads are considered essential partners to hand polish products. They are better than traditional foam or terry cloth applicators because they provide a more consistent abrasive action and are less likely to create new scratches.
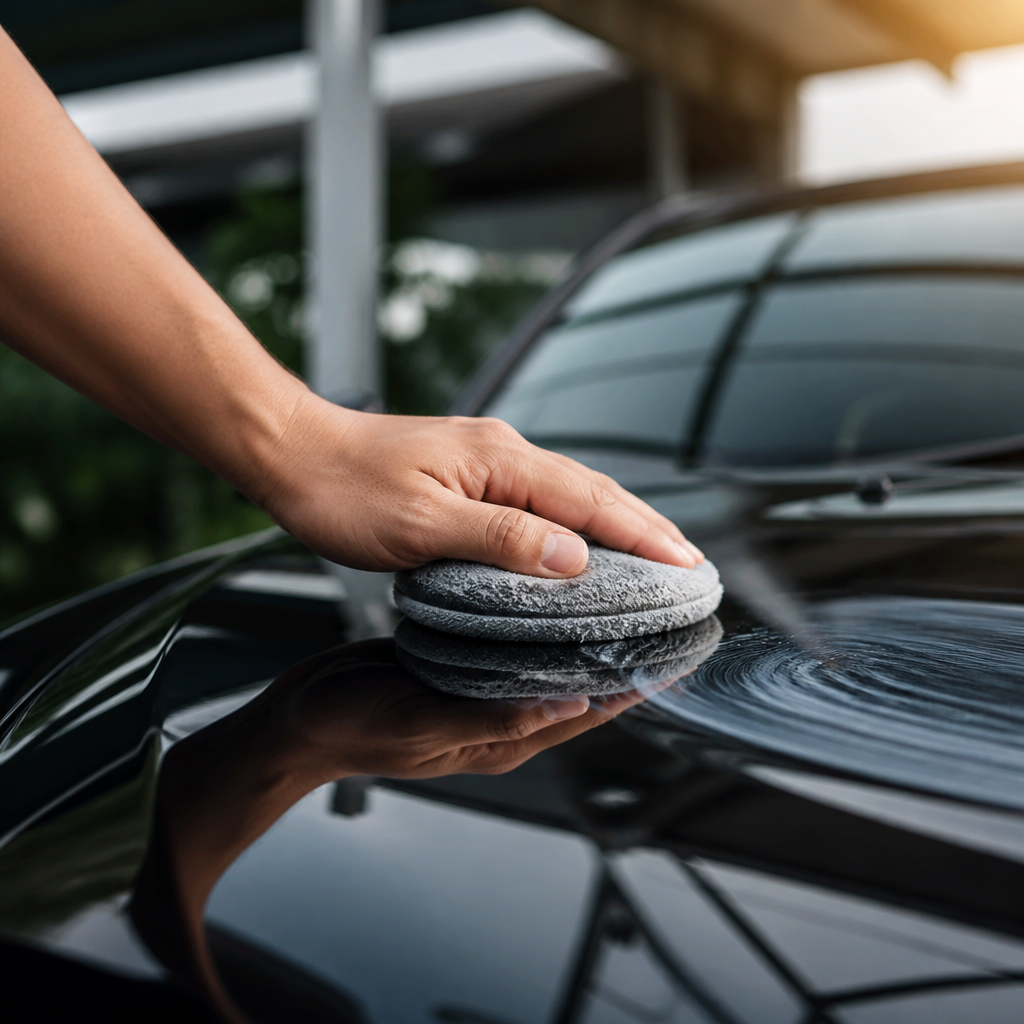
How to Polish a Car by Hand: Step-by-Step Process
Polishing a car by hand is a methodical process that, when done correctly, can lead to amazing results. Each step builds on the one before it, making sure your car’s paint is properly cleaned, corrected, and protected. Paying close attention to detail at every stage is key to getting a flawless finish.
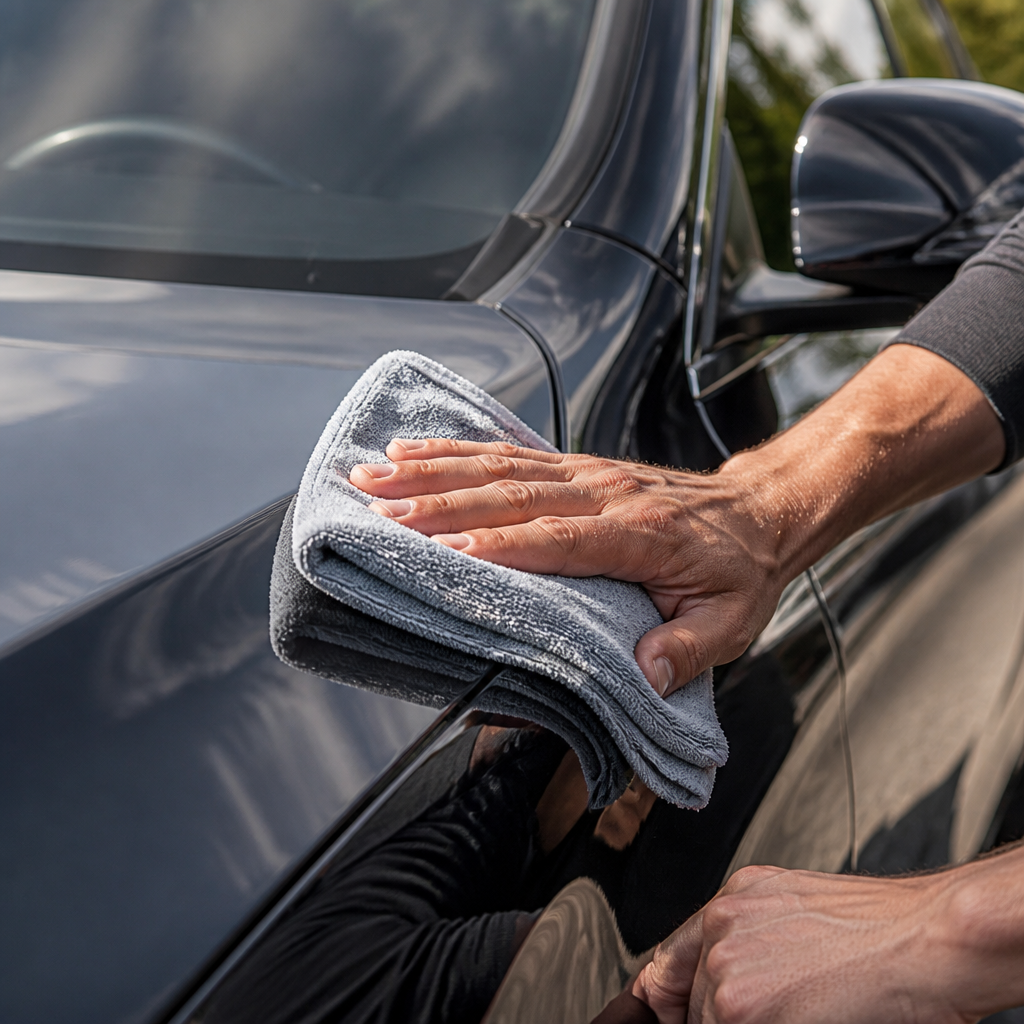
How to Polish a Car by Hand Step by Step
- Wash and Dry: The most important starting point for any successful polishing job is a perfectly clean surface. Thoroughly wash your car with a pH-neutral car shampoo to remove all loose dirt and grime. Dry the car completely with clean, soft microfiber towels to prevent any particles from being dragged across the paint, which could cause new scratches.
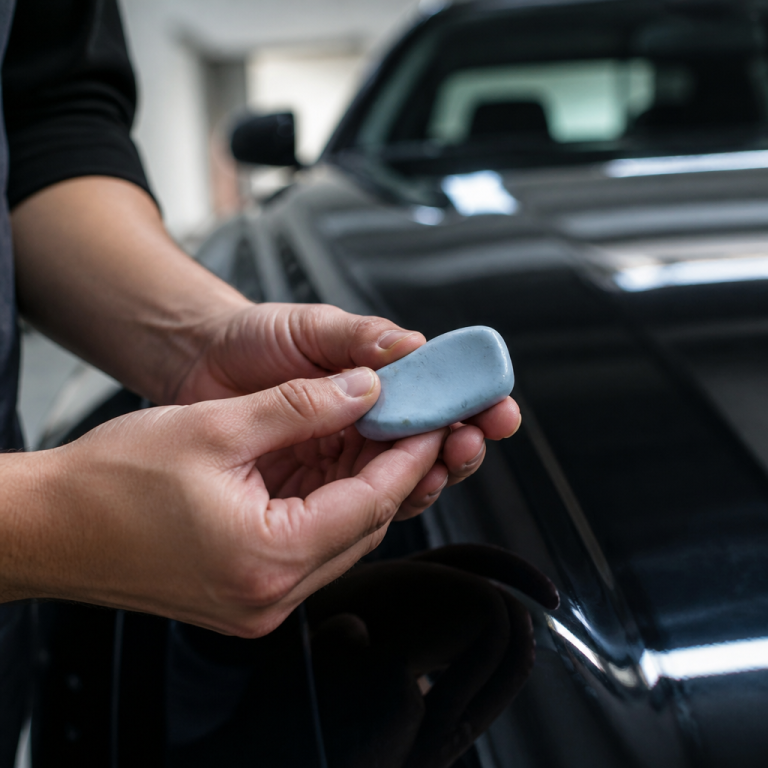
- Clay Bar Treatment: After washing, use a clay bar to remove embedded contaminants like tar, tree sap, and industrial fallout. This step leaves the paint remarkably smooth, ensuring your applicator pad glides effortlessly and the polish works uniformly.
- Mask Off Trim: Use painter’s tape to mask off any plastic trim, rubber seals, and textured black parts. This prevents the polish from staining or discoloring these porous materials, saving you considerable cleanup effort later.
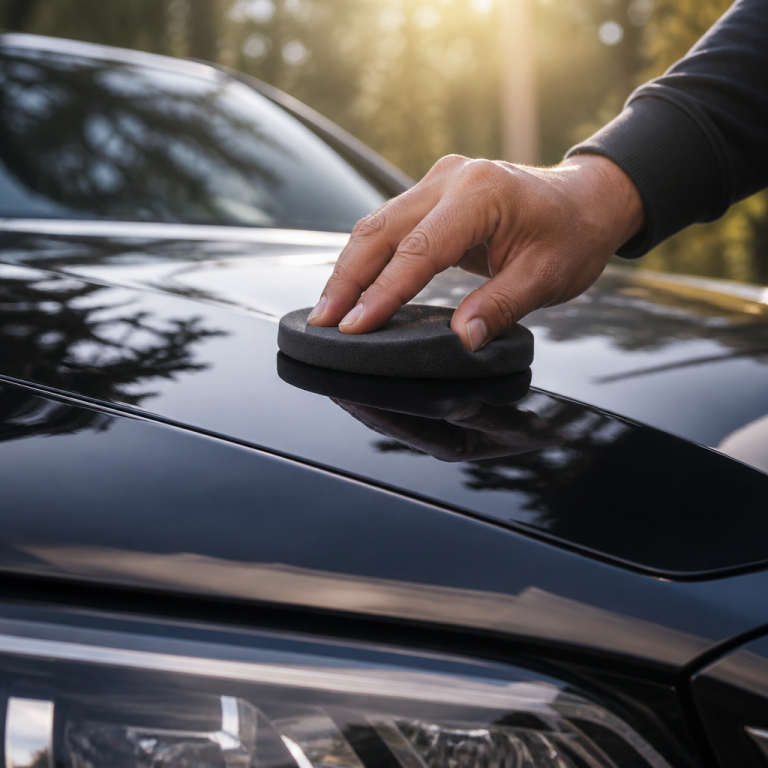
- Apply Polish to Pad: Squeeze a quarter-sized amount of polish onto a clean microfiber applicator pad. Using a moderate amount ensures the product can be worked effectively into the paint without becoming oversaturated.
- Work in Small Sections: Begin working on a small section, about 2×2 feet. Apply the polish using overlapping circular motions, followed by straight-line passes (horizontally, then vertically). Maintain consistent, moderate pressure for 3-5 minutes per section, or until the polish becomes clear.
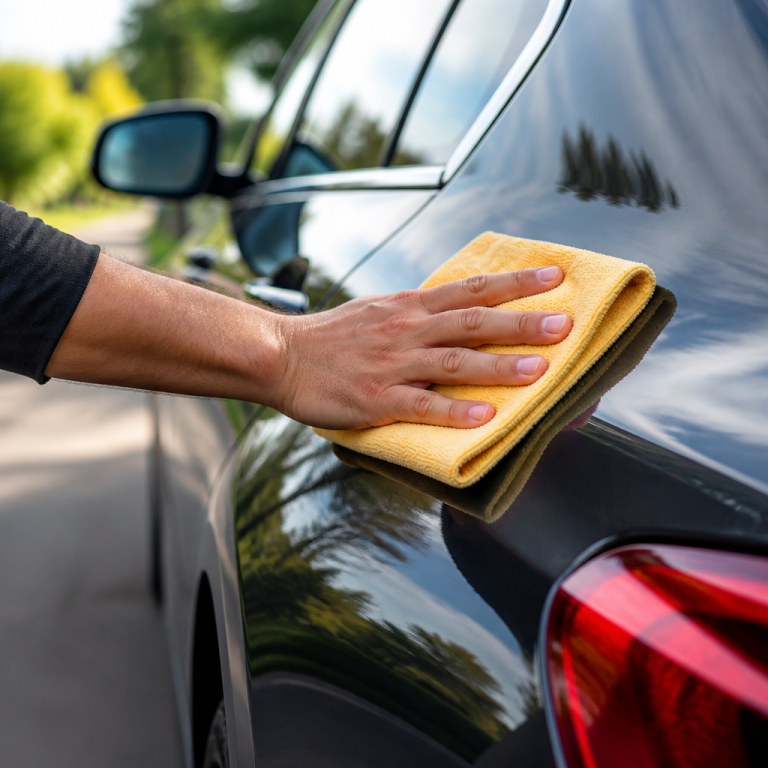
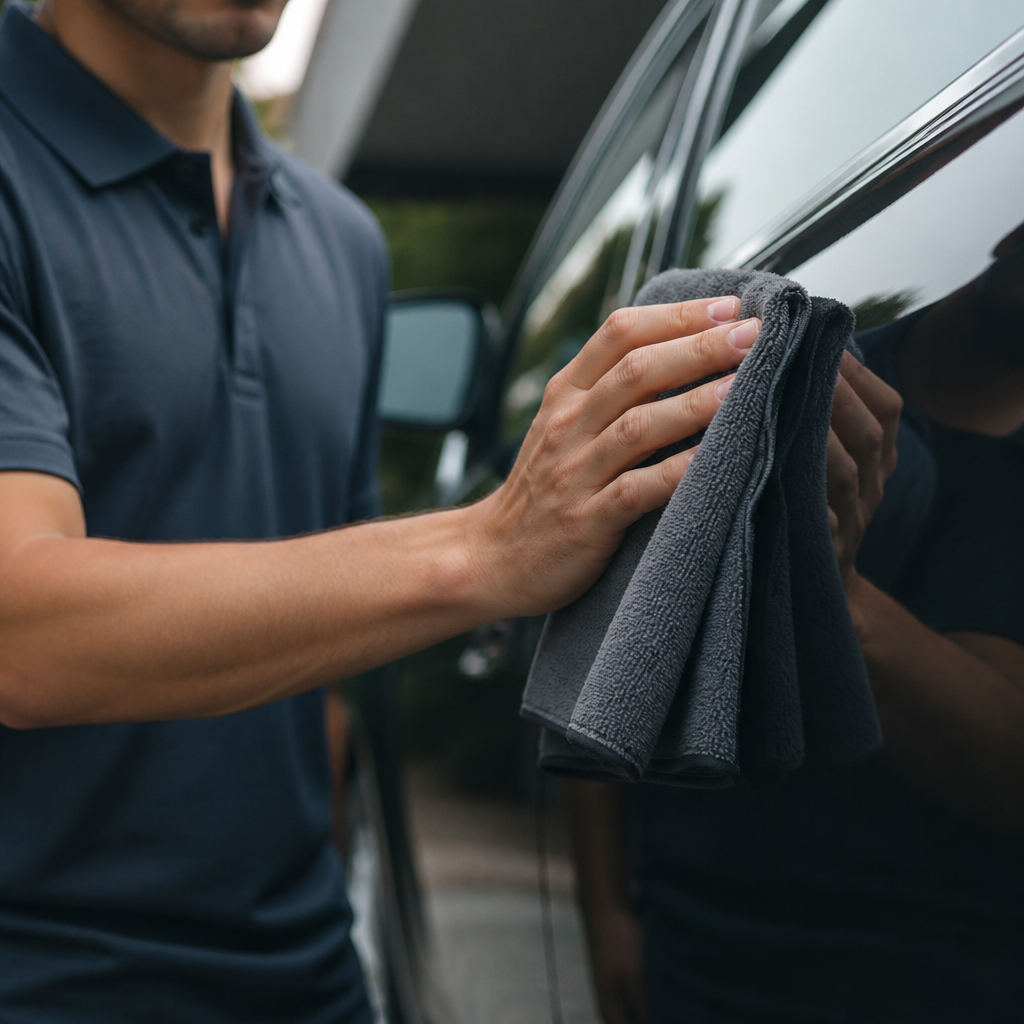
- Remove Polish Residue: Allow the polish to haze slightly, then use clean, dry microfiber towels to remove the residue before it dries completely. Apply light pressure and frequently flip the towel to a fresh section to avoid redepositing material and to achieve a streak-free finish.
- Inspect Your Work: After removing the polish, thoroughly inspect the section under good lighting. If you notice remaining imperfections, you may need to repeat the process on that section before moving on.
- Protect the Paint: Once the entire vehicle is polished, apply a high-quality paint sealant or carnauba wax within 24 hours. A protective layer will shield it from environmental contaminants, UV rays, and help maintain its newfound gloss for an extended period.
Todd Cooperider, a certified detailer, points out a common mistake in hand polishing:
He advises keeping sections small and working the polish thoroughly until it becomes clear or nearly transparent. This focused approach, he notes, leads to dramatically better results than attempting to rush through larger panels.
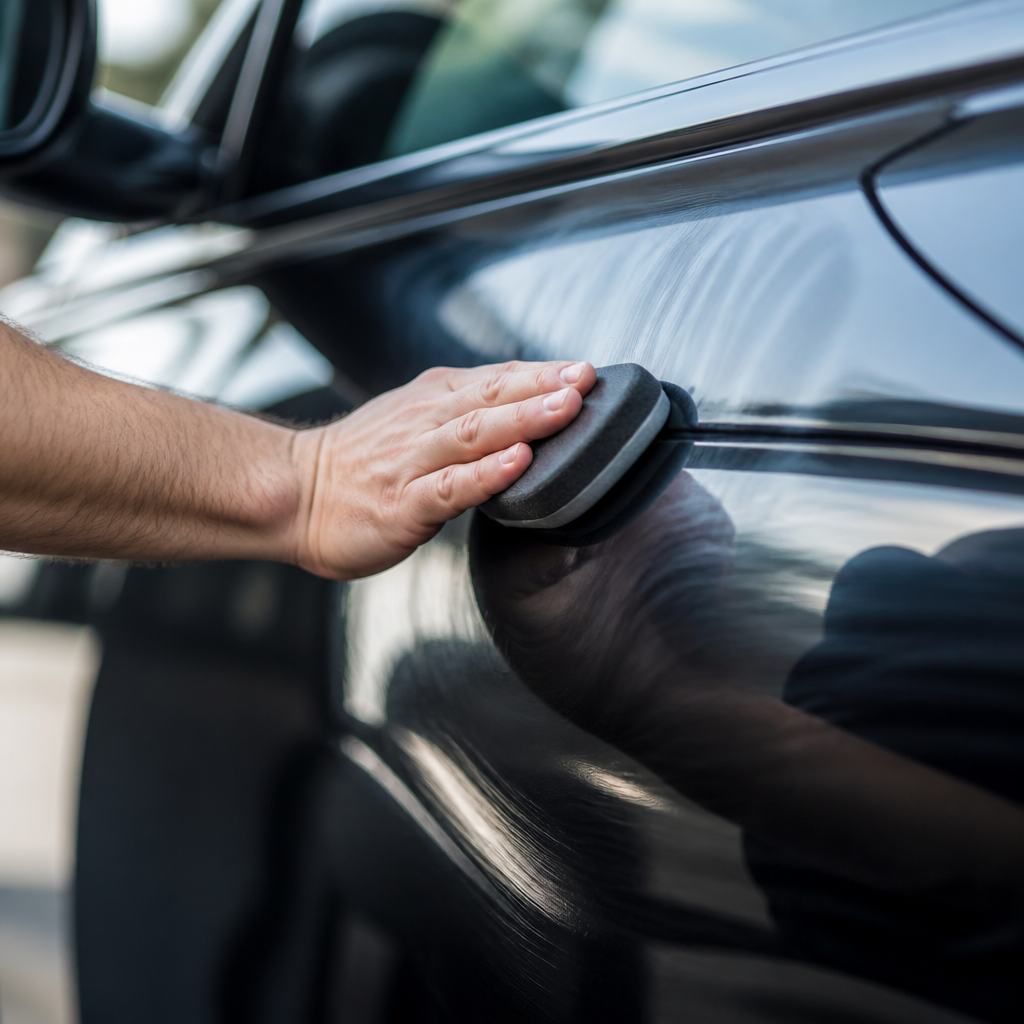
How to Polish a Car by Hand Without a Machine
When you’re polishing a car purely by hand, it’s wise to choose less aggressive products, like finishing polishes, rather than heavy cutting compounds. This approach compensates for the less intense mechanical action of hand application, preventing over-correction and reducing physical strain.
To get the most out of hand polishing, the “cross-hatch technique” is incredibly useful. This method involves applying polish in overlapping circular motions, then following with distinct straight-line passes—first horizontally, then vertically. This ensures that the tiny abrasive particles make comprehensive contact with the paint from every angle, leading to more consistent and superior results.
The choice of applicator pad is hugely important. Microfiber applicators offer much better cutting efficiency than traditional foam pads. The unique structure of microfiber allows for better distribution of abrasive particles and maintains more consistent contact with the paint surface, which is crucial when relying solely on manual effort.
Environmental factors also play a big part. _Always aim for a shaded, cool environment to ensure the polish remains workable for the necessary duration._ Avoid working in direct sunlight or on surfaces that are hot, as high temperatures cause polishing compounds to dry out too quickly, reducing their effectiveness and creating stubborn residue.
How to Polish a Car by Hand to Remove Scratches
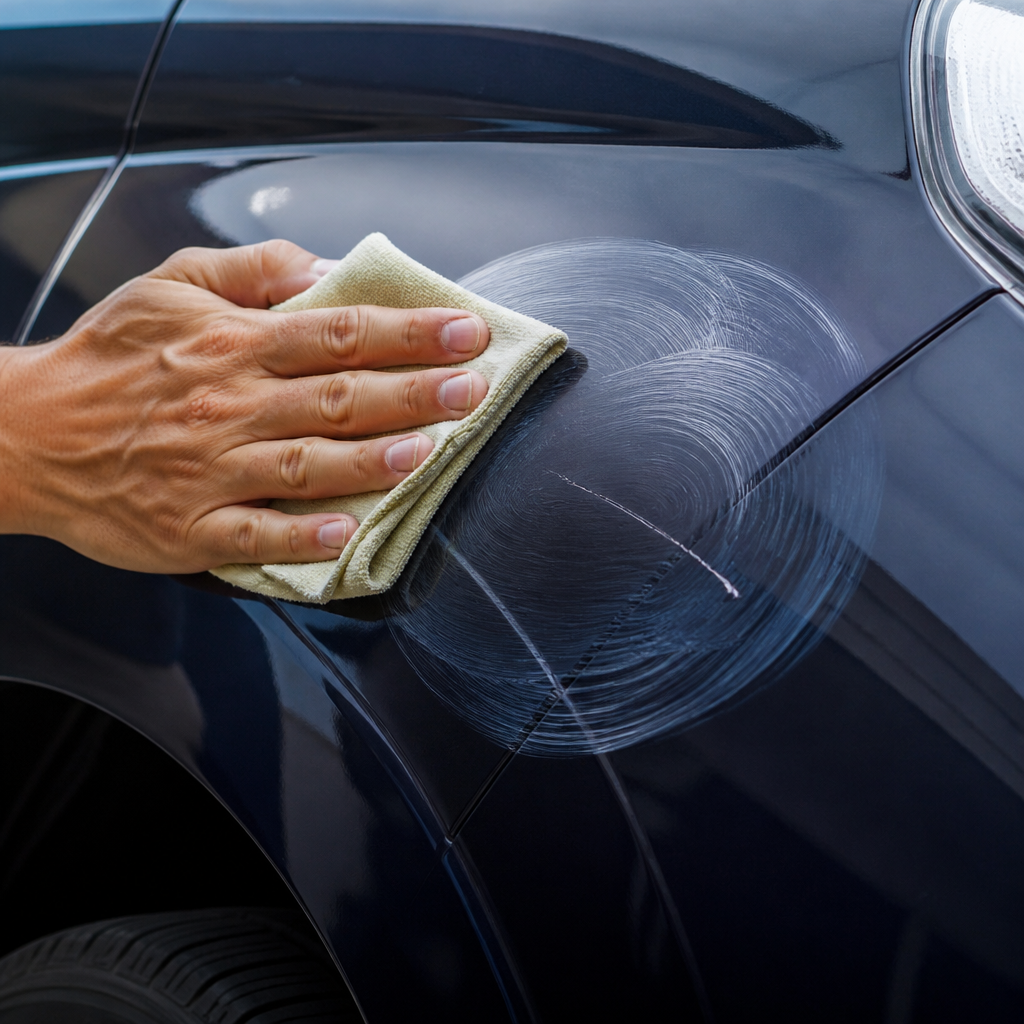
When trying to remove scratches by hand, it’s important to understand what this method can and can’t do. Hand polishing is generally only effective for surface-level clear coat scratches. A simple way to check is the “fingernail test.” Gently run your fingernail across the scratch. _If your fingernail catches or snags in the scratch, it usually means the imperfection has gone through the clear coat and is too deep for hand polishing to fully remove._
For effective scratch removal by hand, you’ll typically need to use “medium-grade polishing compounds” rather than fine finishing polishes. Products like Meguiar’s ScratchX 2.0 and Turtle Wax Scratch Repair & Renew are specifically made for this purpose. They contain micro-abrasives designed to safely level the clear coat around the defect.
Concentrate your efforts on a small area directly around the scratch. Work the polish with focused circular motions, applying consistent pressure to the immediate vicinity. This targeted application maximizes the abrasive action exactly where it’s most needed. After you’ve treated the scratch, “blend” the area into the surrounding paint by gradually expanding your polishing efforts in larger circles. This helps to prevent a visible “halo” and ensures a seamless, uniform finish.
Have realistic expectations. Yvan Lacroix, a master detailer, suggests that hand polishing can usually achieve a 50-80% improvement on light scratches, rather than complete removal.
FAQ
Q: What is the ideal temperature and environment for hand polishing a car?
A: The optimal ambient temperature for hand polishing is typically between 60-80°F (15-27°C). It’s crucial to work in shaded conditions, as direct sunlight can cause the polish to dry too quickly, making it difficult to work with and remove effectively.
Q: How long should I expect to spend hand polishing my car?
A: The time varies by vehicle size and paint condition. A standard sedan might take 3-6 hours, while compact cars could be 2-4 hours, and larger SUVs 6-8 hours. First-time polishers should allocate 1.5-2 times these estimates to account for the learning curve and thorough inspection.
Q: Can hand polishing remove deep scratches?
A: Hand polishing is generally effective only for surface-level clear coat scratches. If a scratch catches your fingernail, it’s likely too deep for hand polishing alone and may require more advanced paint correction methods, like machine polishing or wet sanding.
Q: What type of applicator pad is best for hand polishing?
A: Microfiber applicator pads are highly recommended for hand polishing. They provide superior cutting efficiency and consistent abrasive action compared to traditional foam or terry cloth applicators, helping to distribute the polish evenly and prevent new scratches.
Q: Why is it important to protect the paint after hand polishing?
A: Polishing removes a microscopic layer of clear coat, which can leave the paint more vulnerable to environmental damage. Applying a paint sealant or carnauba wax within 24 hours after polishing creates a protective barrier, shielding the newly exposed paint surface from UV rays and contaminants.

Jake Morrison writes about DIY car care at CarCareNote. He’s been detailing cars in his Ohio driveway for over a decade and shares what actually works at home.