How to Wax a Car by Hand: 7 Easy Steps for a Showroom Shine
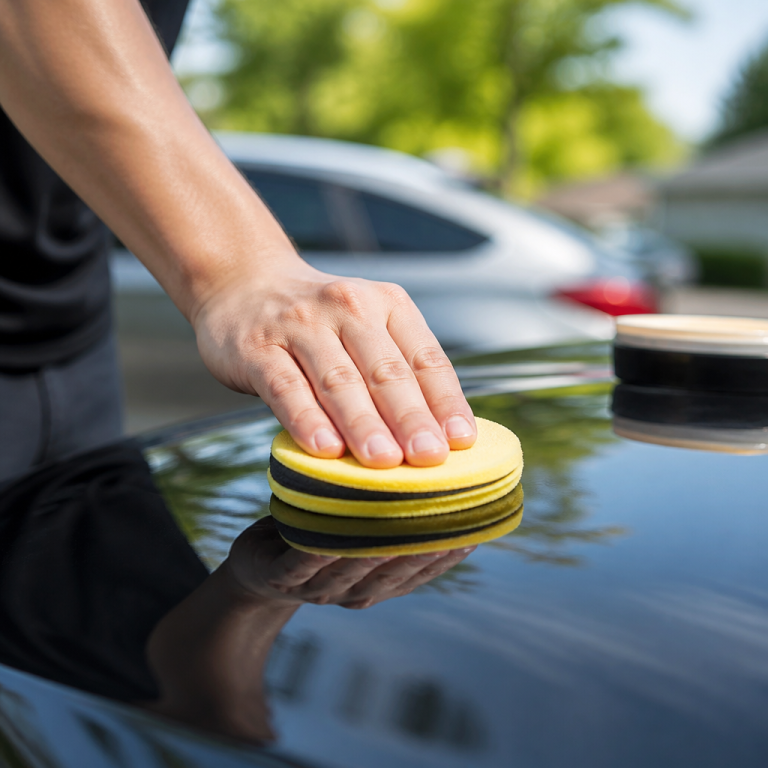
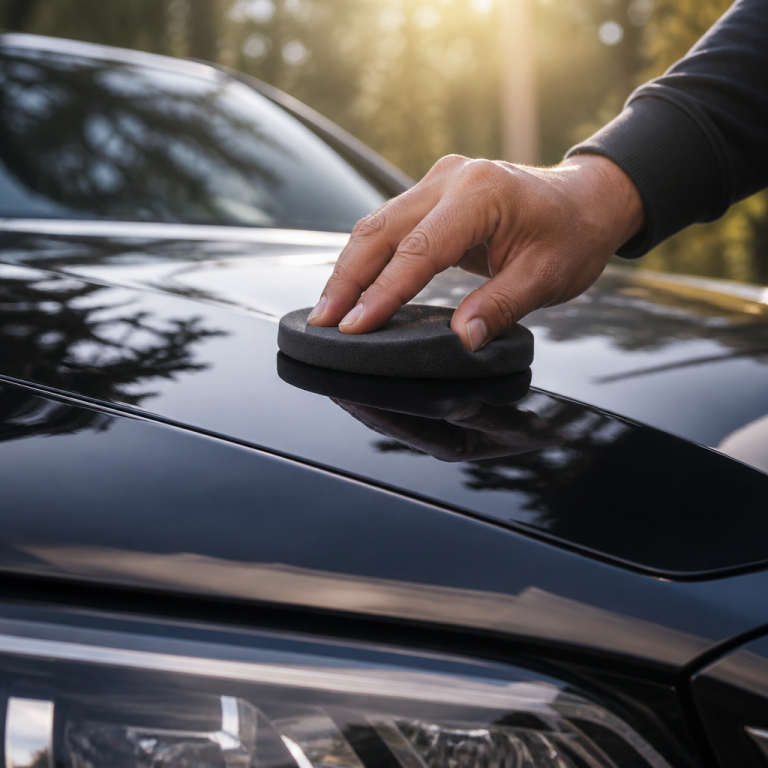
Hand waxing a car is more than just a chore; it's a satisfying, almost therapeutic process that connects you with your vehicle. It involves manually applying a protective wax coating to a vehicle's paint surface, creating a vital barrier against environmental damage like harsh UV rays, dirt, and road grime. The best part? It significantly boosts the car's looks, giving it a deep, lustrous shine. Discover the secrets to achieving that showroom finish right in your own driveway.
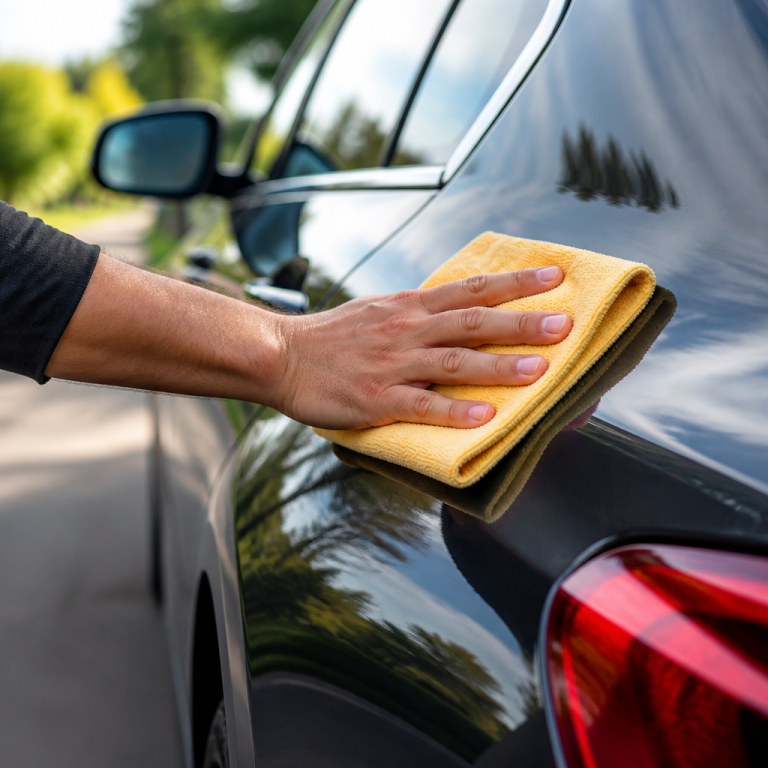
Unlike using a machine, hand waxing gives you incredible control over the application and lets you really _feel_ the paint. You can easily spot tiny imperfections that a machine might miss. This hands-on approach allows for an intimate understanding of your car's paint condition, helping you feel for contaminants, swirl marks, and other blemishes. The standard process starts with a thorough wash and dry to ensure a perfectly clean surface. Then, a thin layer of wax is applied using an applicator pad or a soft microfiber cloth, often in small, overlapping patterns.
You then let the wax "haze," which means it dries to a dull film, usually taking about 5-10 minutes. This hazing indicates the wax is ready for removal. Finally, the hazed wax is carefully buffed off with clean microfiber towels, revealing a protected and gleaming finish. For the best results, it's always smart to apply wax when the temperature is between 55-85°F (13-29°C) and to avoid direct sunlight, as excess heat can cause the wax to dry too quickly, making it difficult to remove and potentially leaving streaks.
Preparing to Wax Your Car by Hand
Before you even think about applying wax, proper preparation is the absolute key to getting a professional-looking, long-lasting finish. The quality of your wax job depends heavily on how clean and smooth the paint surface is underneath. This section will walk you through picking the best wax for hand application and the essential steps to get your car's paint ready.
Best Car Wax for Hand Application
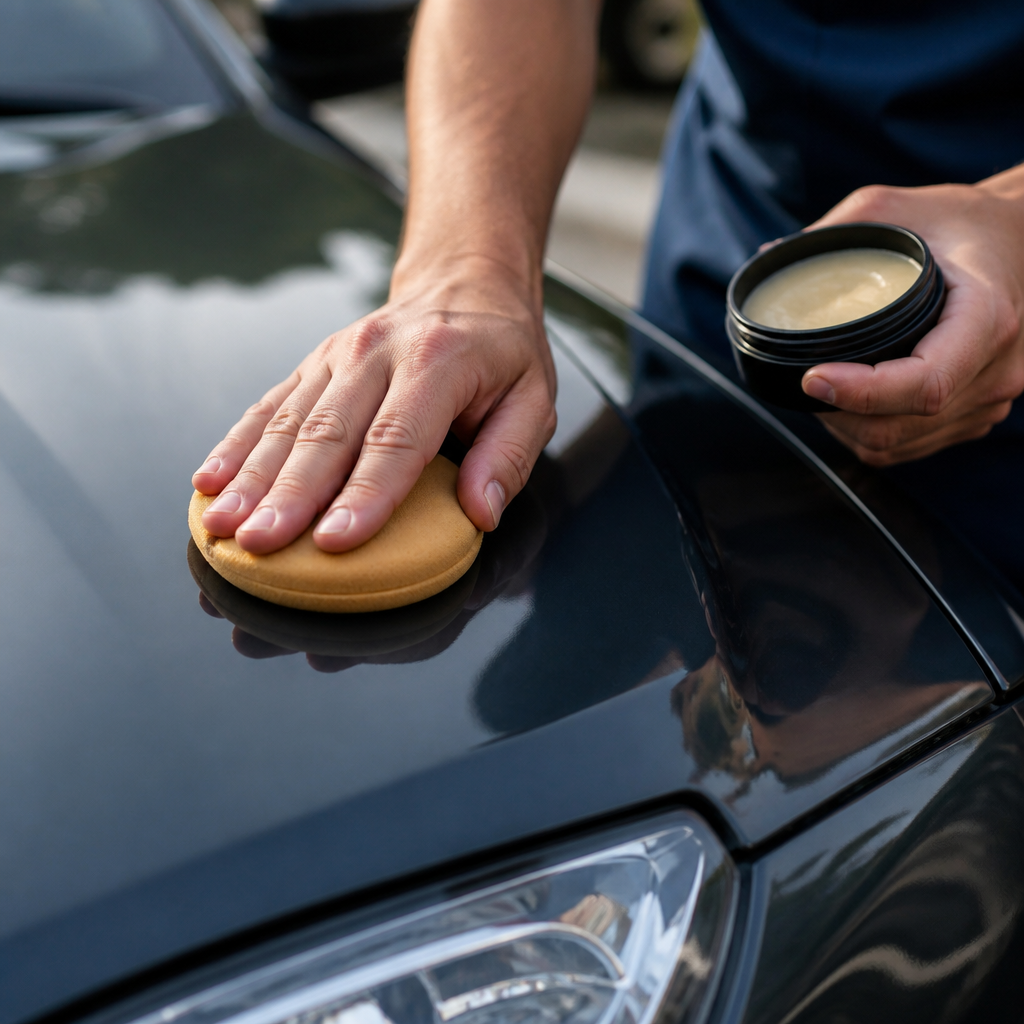
Choosing the right car wax for hand application can make a significant difference in both the ease of the process and the final result. These waxes are specifically formulated for manual use and come in different forms, each with unique benefits.
| Wax Type | Key Characteristic | Typical Durability |
|---|---|---|
| Carnauba Wax | Derived from Brazilian carnauba palm; prized for its warm, deep glow. | 2-3 months |
| Synthetic Polymer Sealant | Man-made formula engineered for maximum durability and protection. | 4-6 months |
| Hybrid Wax | A blend that aims to provide the shine of carnauba with the longevity of a sealant. | 3-5 months |
Products like Meguiar's Gold Class or Chemical Guys Butter Wet Wax are often highly rated because they spread easily, produce minimal residue, and deliver an incredible shine. As detailing instructor Mike Phillips suggests, paste waxes with at least 30% carnauba content are ideal for hand application because they are easier to control and provide that deep, wet-look shine enthusiasts want. While paste waxes may require more effort to apply, they often offer superior protection. Liquid waxes are simpler to spread but typically don't last as long.
How to Prep a Car Before Waxing by Hand
Proper pre-wax preparation is the most important step in the entire hand waxing process. This multi-step procedure involves thoroughly cleaning and decontaminating your car's paint. It is essential for ensuring the wax adheres properly and achieves maximum longevity. Skipping these steps means the wax won't bond correctly, leading to a less durable finish and sealing in existing imperfections.
- Washing: Thoroughly wash your car using a pH-neutral car shampoo and the "two-bucket method"—one bucket for soapy water and another for rinsing your wash mitt. This technique prevents transferring dirt back onto the paint and causing scratches.
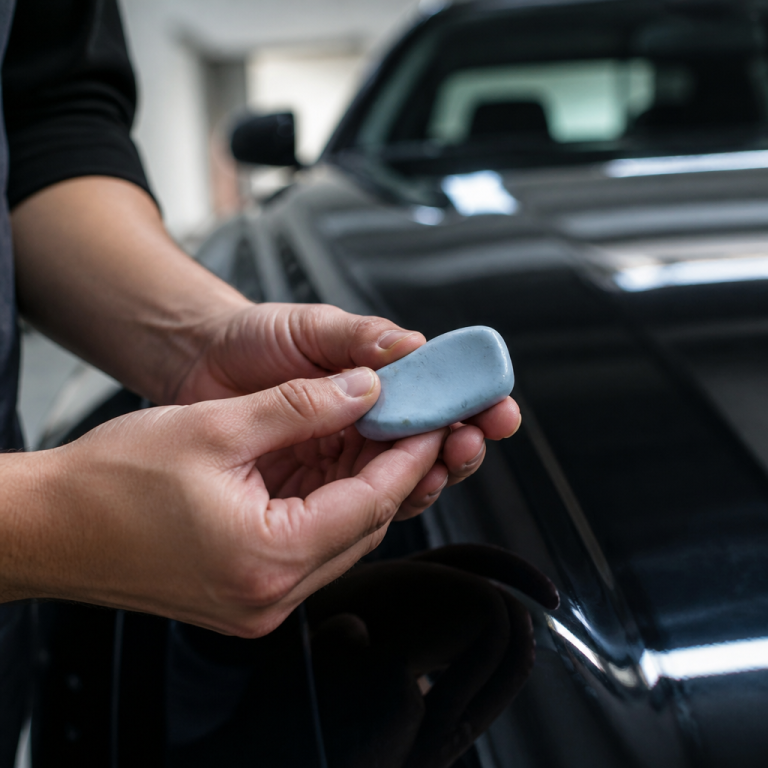
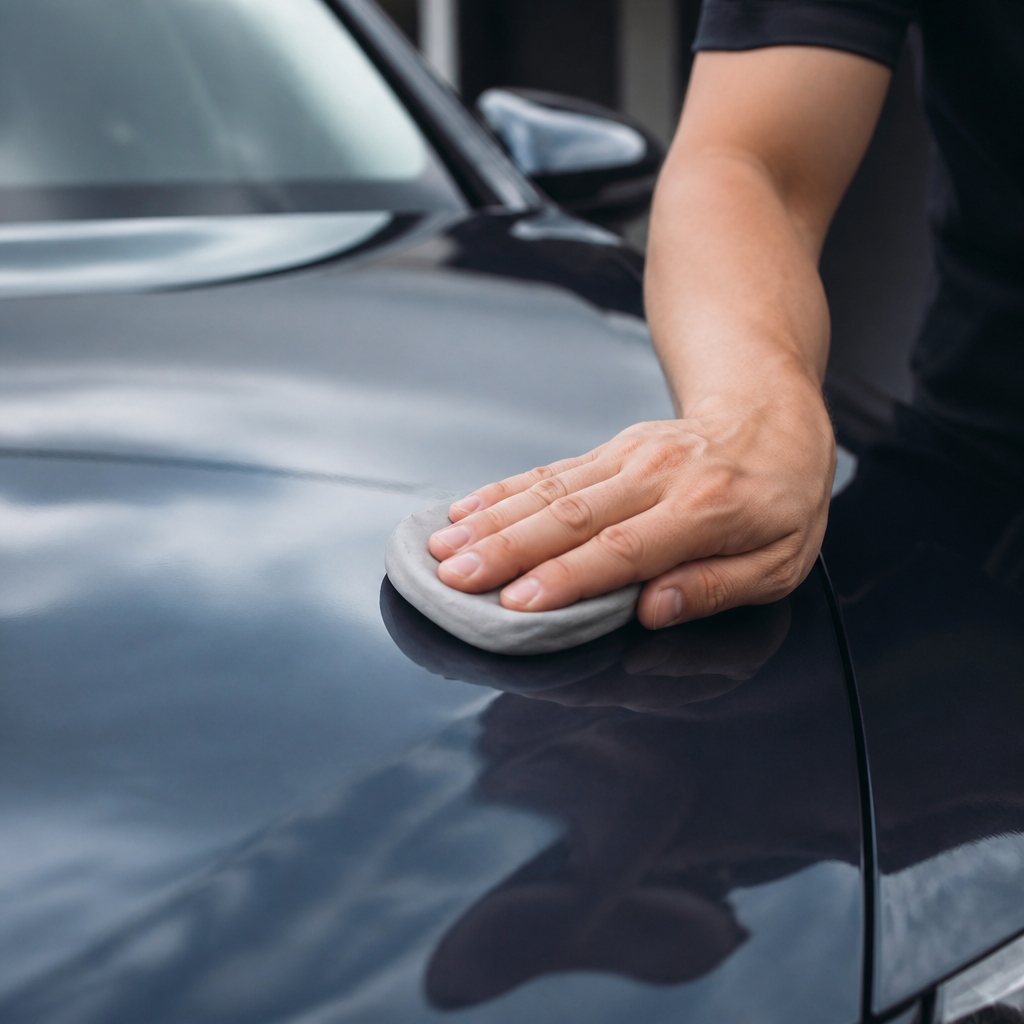
- Decontamination: After washing, bonded contaminants like tar, tree sap, and industrial fallout may remain. A clay bar or clay mitt, used with a lubricant, gently lifts these embedded particles, leaving the paint feeling smooth as glass.
"The clay bar step is non-negotiable if you want wax to last. Contaminants create a barrier between paint and wax, significantly reducing durability. Run your hand over the paint—if it's not smooth as glass, you're not ready to wax." – Todd Cooperider, chemical engineer and detailing expert
- Paint Inspection: In good lighting, carefully inspect your paint for oxidation, swirl marks, or scratches. It's important to correct these flaws with a paint polish before waxing, as wax will only seal them in.
- Surface Drying: Completely dry the car using clean, soft microfiber drying towels. Any remaining water can interfere with wax bonding and lead to streaks. For an even cleaner surface, an optional final wipe-down with an isopropyl alcohol (IPA) solution or a dedicated panel wipe will remove any leftover oils or residues.
How to Wax and Buff a Car by Hand
Once your car's paint is perfectly prepared, the next phase involves the careful application and removal of the wax. This stage requires precision and patience to ensure an even coat, maximum protection, and a brilliant, streak-free shine.
How to Wax a Car Properly by Hand
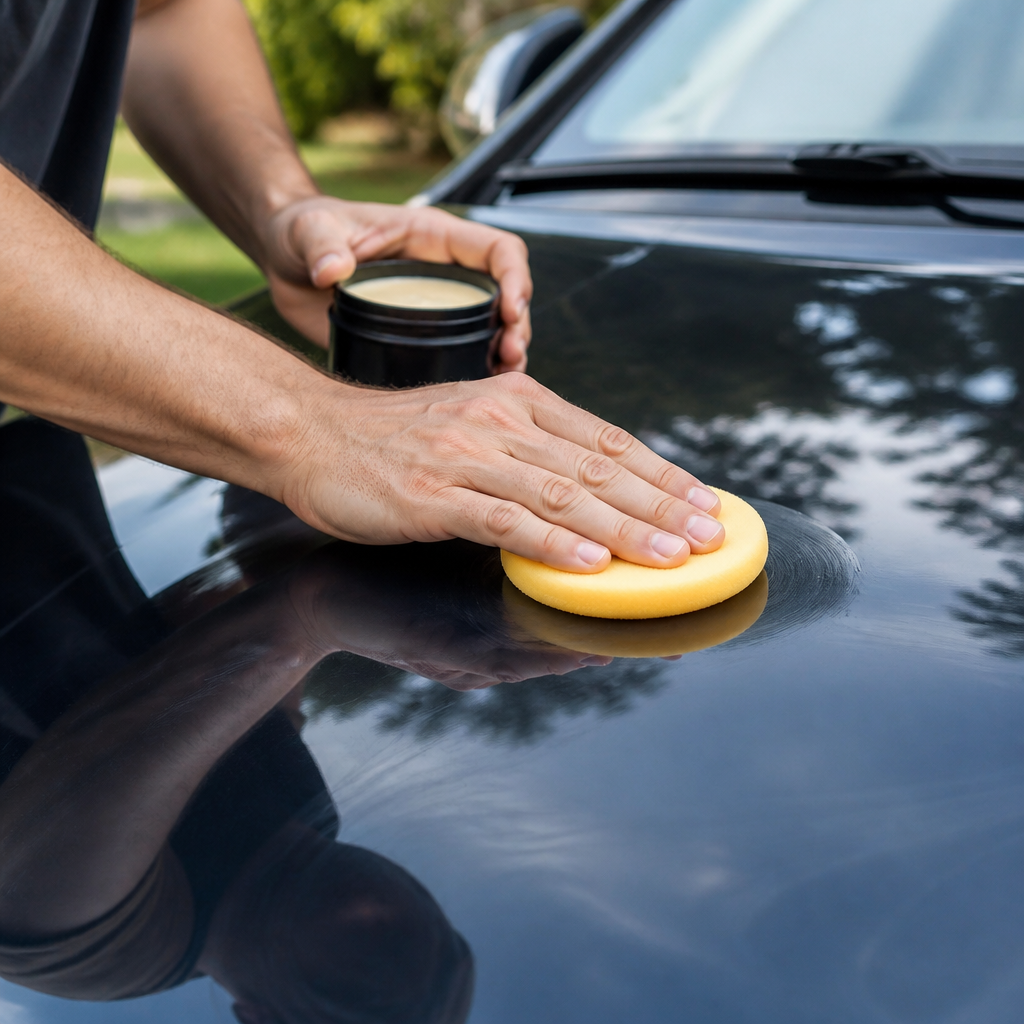
Proper hand waxing technique is a step-by-step approach that ensures an even, protective layer. The main goal is to apply a thin, uniform coat, as this bonds much better to the paint than a thick, heavy layer. More wax doesn't mean more protection; it just means more work to remove it!
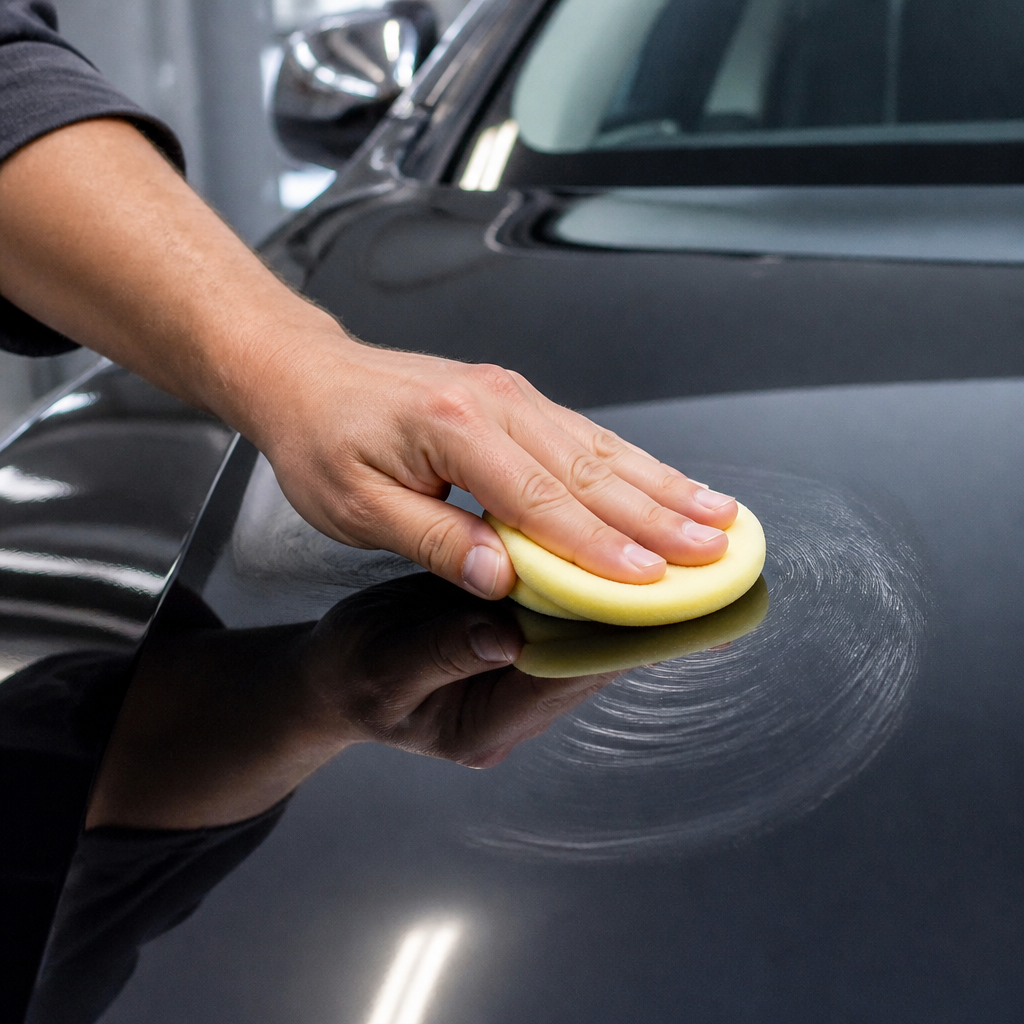
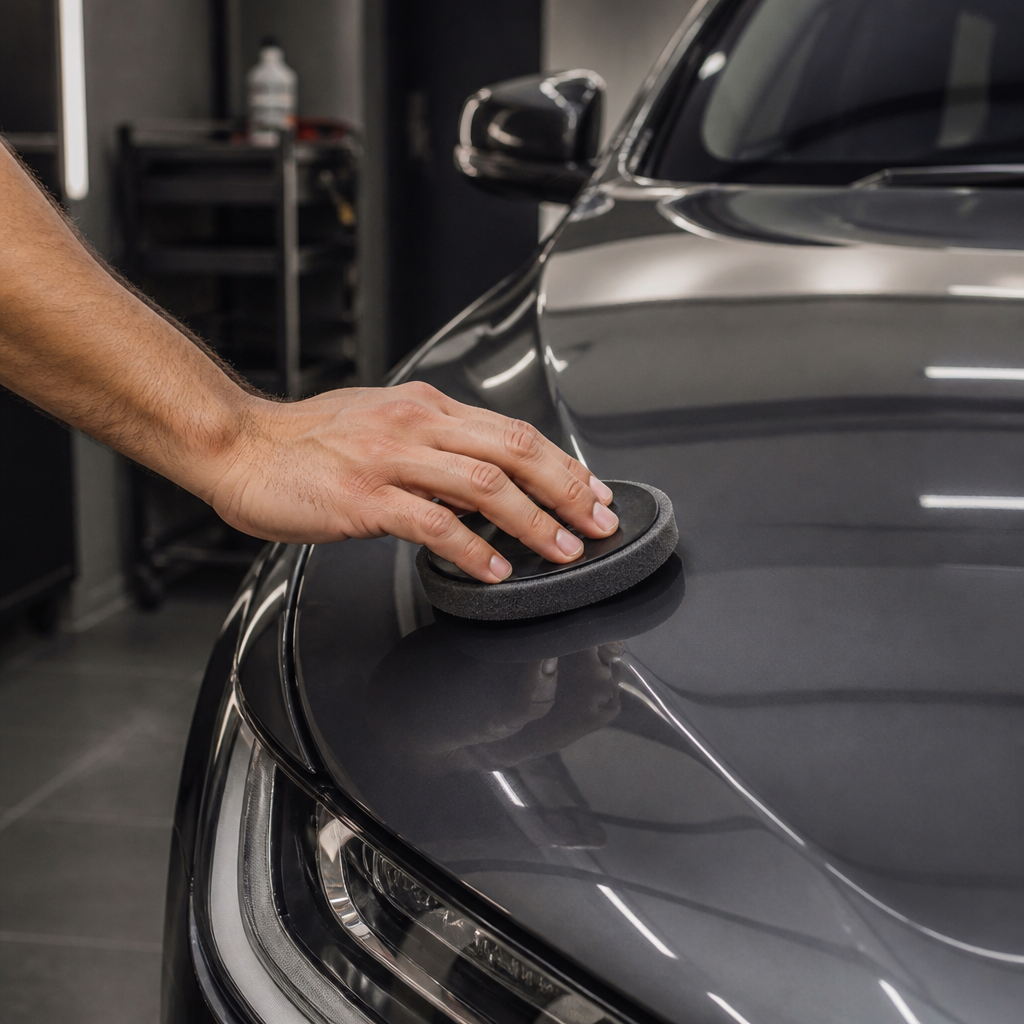
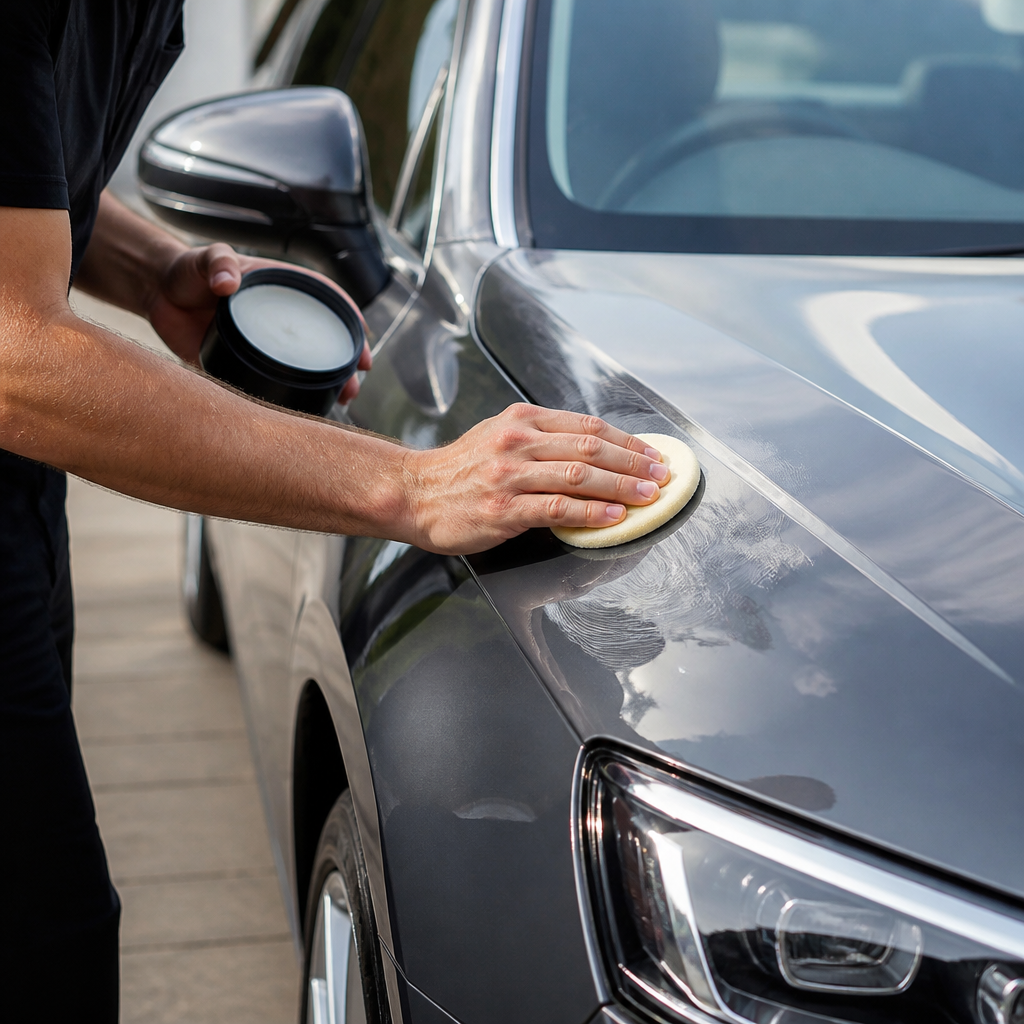
Start by applying a small amount of wax onto a foam or microfiber applicator pad. Work on small, 2×2 foot sections, using light pressure in either straight, overlapping lines or small circular motions. A common mistake, as veteran automotive detailing instructor Mike Phillips often points out, is over-application. He advises that a proper coat should be so thin you can barely see it.
After applying, let the wax "haze" for 5-10 minutes. You can use the "swipe test" to check if it's ready for buffing: lightly swipe your finger across the hazed wax; if it leaves a clear line, it's ready. Start with the horizontal surfaces (hood, roof, trunk) before moving to the vertical panels.
_A really important warning: avoid applying wax to black plastic trim, rubber seals, and textured surfaces._ Wax tends to dry white on these materials, creating a residue that can be very difficult to remove. Use painter's tape to mask off these areas beforehand.
How to Buff and Wax a Car by Hand
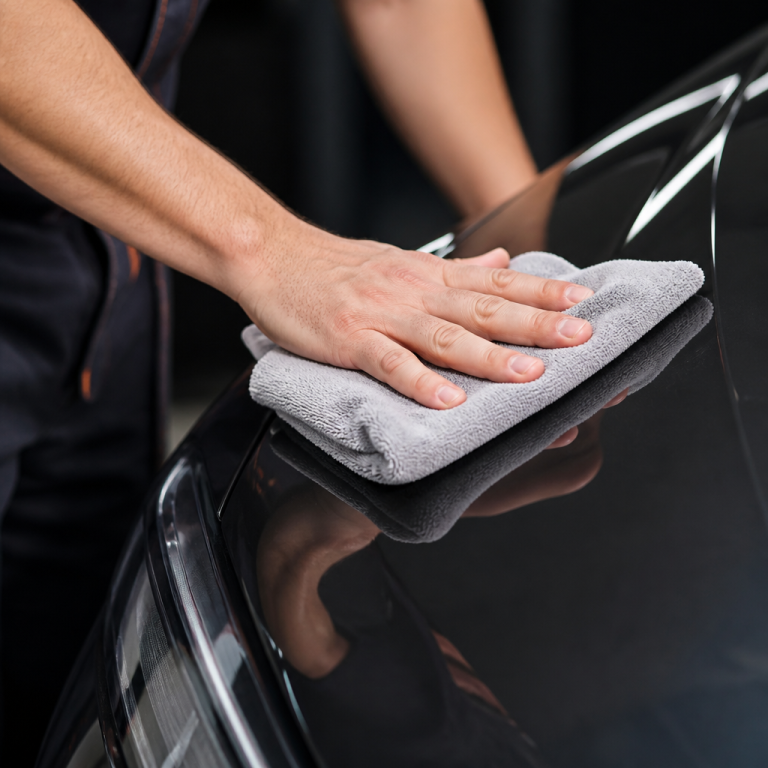
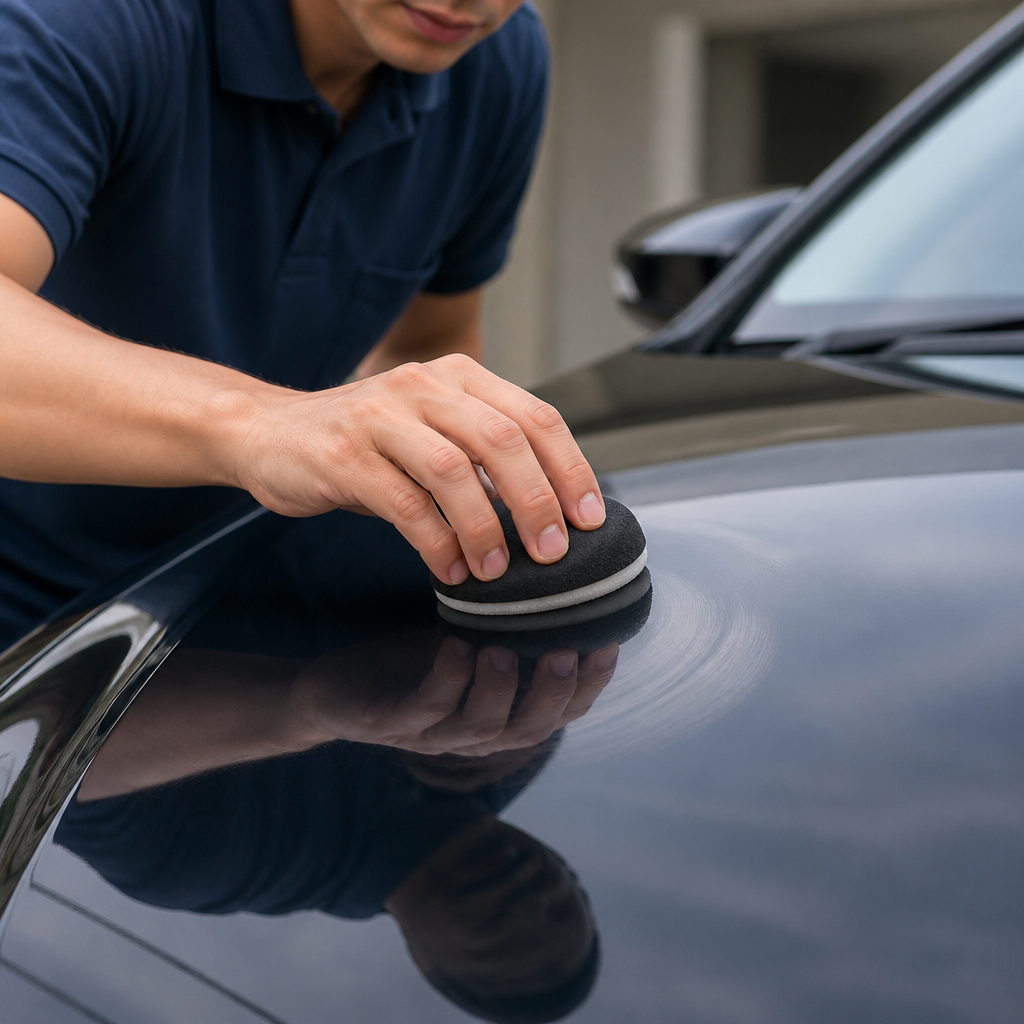
Buffing is the crucial final step that transforms the hazed wax into a high-gloss, streak-free finish. This process involves carefully removing the dried wax residue and polishing the surface to bring out its shine. For effective buffing, the quality of your microfiber towels is super important.
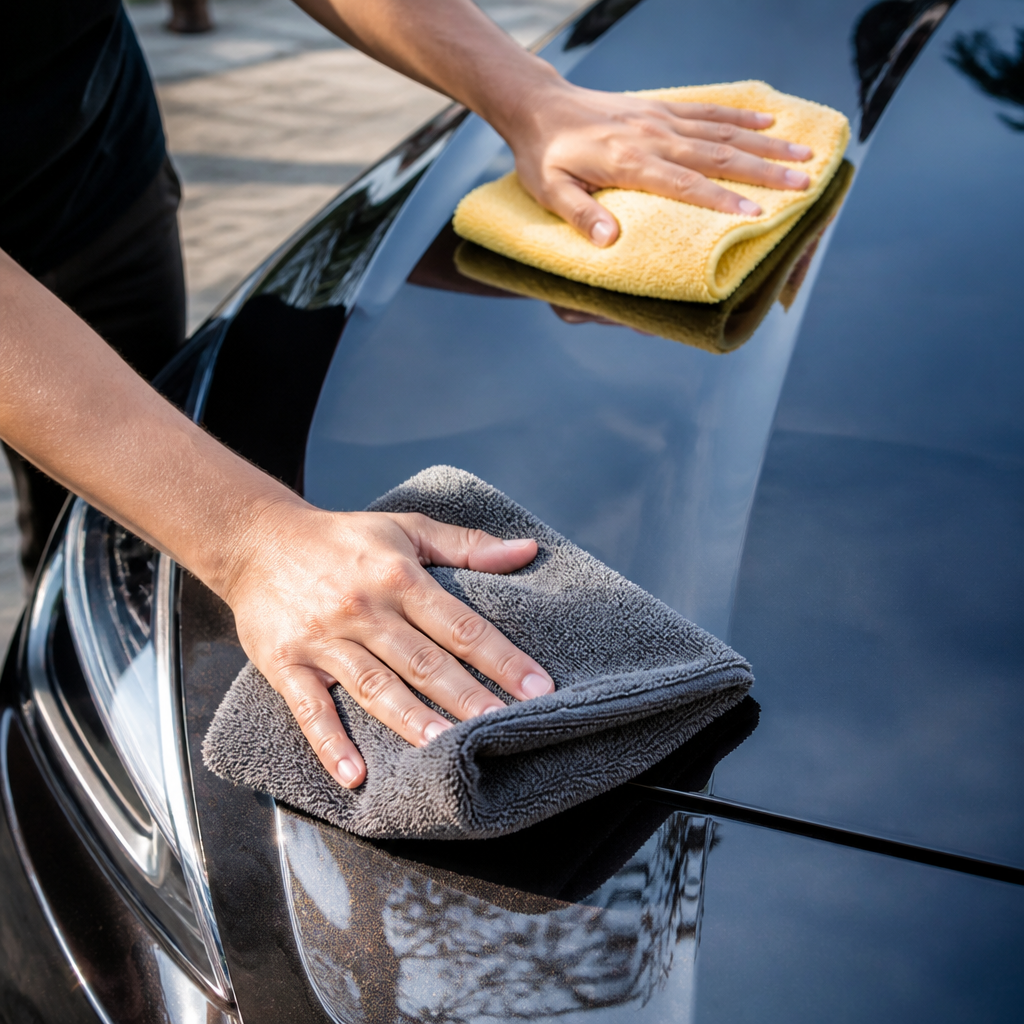
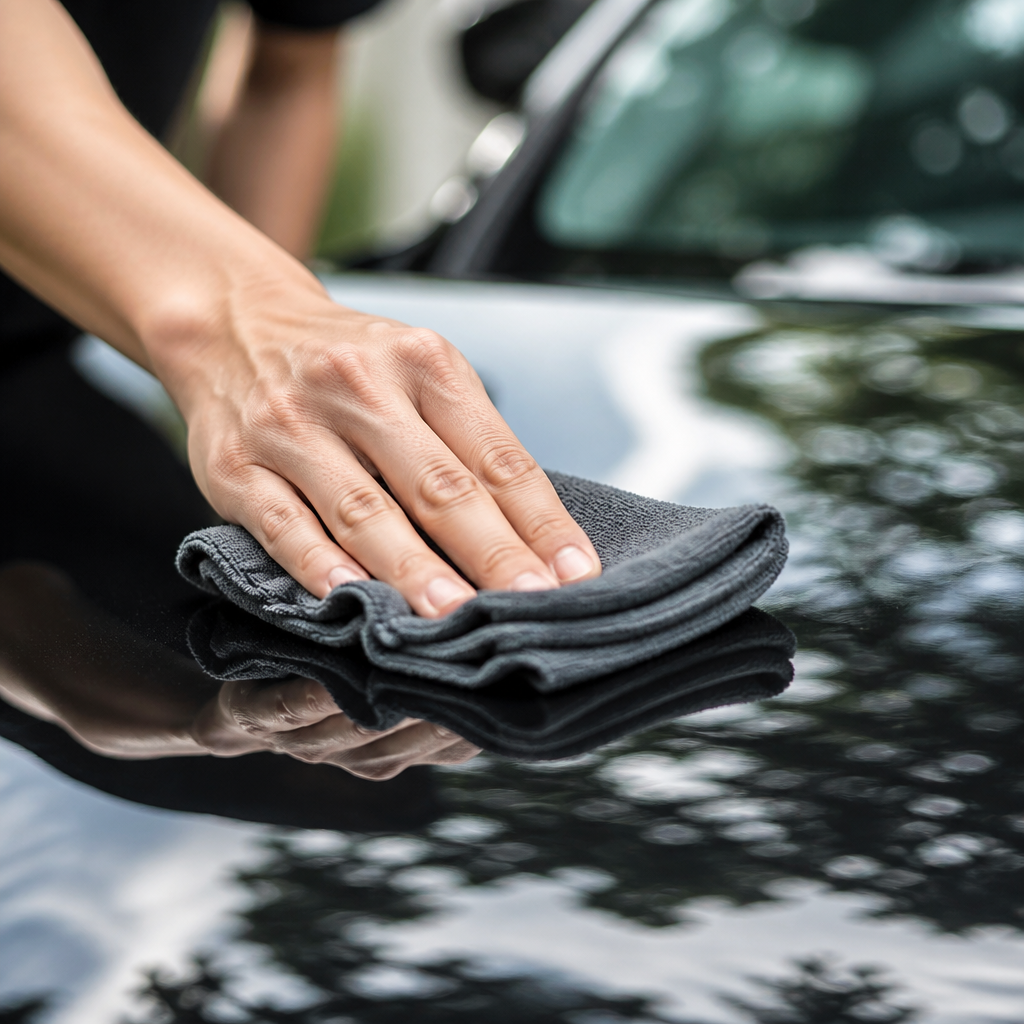
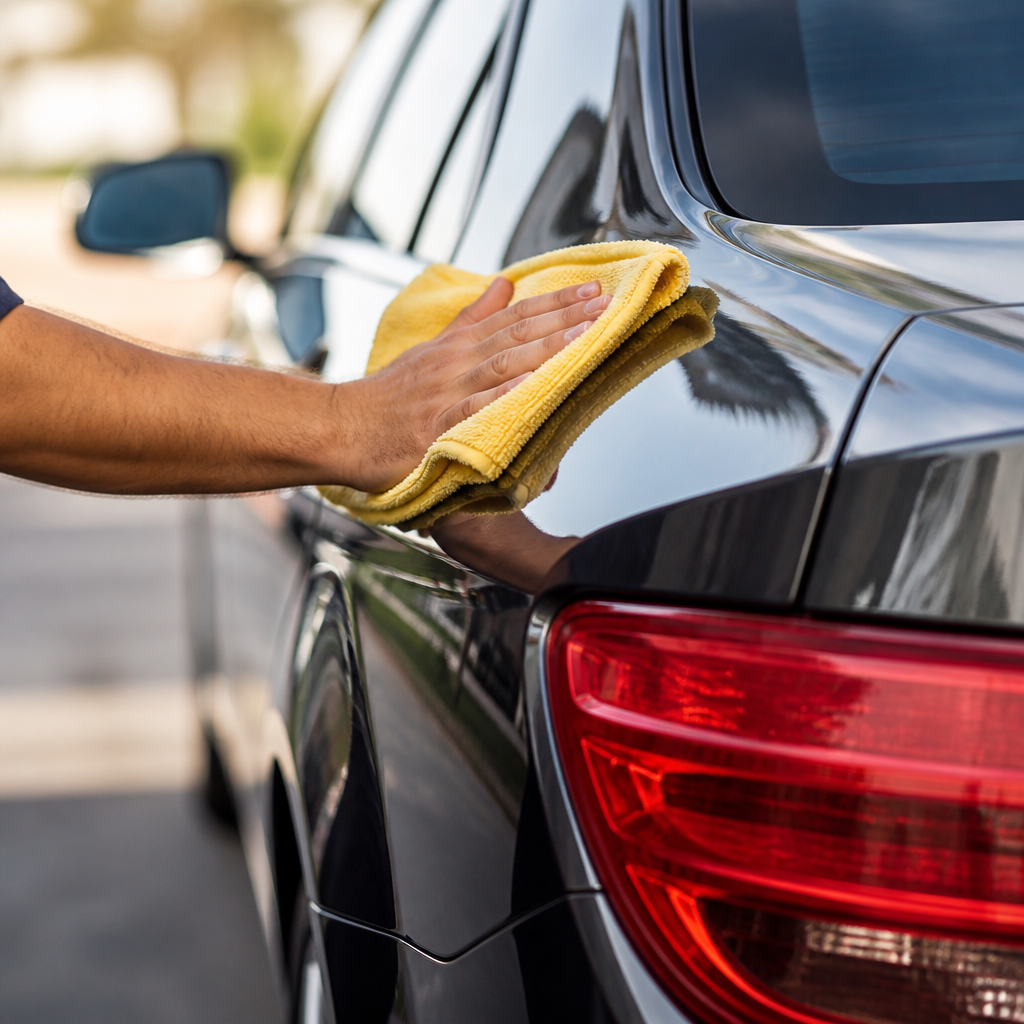
Use dedicated microfiber towels with a GSM (grams per square meter) of 300+ for the initial removal and softer, 500+ GSM towels for the final buff. When buffing, use straight-line motions to reduce the risk of creating swirl marks. A highly effective "two-towel method" involves using the first towel to remove most of the hazed wax and immediately following with a second, clean towel to buff the surface to its final shine. Applying too much force is unnecessary and can smear the wax.
After buffing each section, inspect the area from different angles under good light to spot any remaining residue or "high spots." If residue appears in crevices or around emblems, a soft detailing brush can help remove it. A complete final inspection 30-60 minutes after finishing will help you catch any last bits of haze that may appear as the wax continues to cure.
Tips for Waxing a Car by Hand Like a Pro
Achieving professional-level results involves attention to detail, the right tools, and a smart strategy.
"Professional results come from preparation, not the wax itself. I've seen $15 wax look better than $100 wax simply because the surface was properly prepped. Also, work in small sections—rushing is the enemy of quality." – Larry Kosilla, professional detailer and founder of AMMO NYC
Incorporate these tips to elevate your hand waxing skills:
- Work in a Controlled Environment: Always wax your car in a shaded area or garage, with temperatures between 55-85°F (13-29°C). Avoid direct sunlight and wind, which can cause the wax to cure too quickly and blow contaminants onto the paint.
- Invest in Quality Tools: Use high-quality foam applicator pads for even application and premium microfiber towels (70/30 polyester/polyamide blend) for buffing to prevent streaking and scratching.
- Follow the "Thin Application Rule": A proper, thin coat should be almost transparent. If you can see distinct fingerprints in the applied wax, you've likely used too much.
- Use Specific Products for Glass and Chrome: Car wax is formulated for painted surfaces and can leave streaks on other materials. Use dedicated glass and chrome cleaners for those areas.
- Care for Your Towels: Wash microfiber towels separately using a detergent without fabric softener, which can clog the fibers. Air dry or tumble dry on low heat.
Time and Frequency of Hand Waxing
Understanding the time commitment for hand waxing and how often to perform it is essential for maintaining your car's appearance and protection. While rewarding, the process requires dedicated time and benefits from consistency.
How Long Does It Take to Wax a Car by Hand
The total time needed to hand wax a car can differ quite a bit, but for a typical sedan, you can generally expect the whole process to take between 2-4 hours. This includes both the crucial preparation phase and the actual waxing and buffing. Larger vehicles like SUVs and trucks can take 4-6 hours or more.
| Task | Estimated Time (for a mid-size sedan) |
|---|---|
| Washing | 30-45 minutes |
| Clay Bar Decontamination | 45-60 minutes |
| Wax Application | 45-75 minutes |
| Buffing/Removal | 30-45 minutes |
| Final Inspection | 15 minutes |
Your experience level will also influence the time. First-timers will likely need more time as they learn the techniques. Resisting the urge to take shortcuts, especially during preparation, is crucial for a superior and durable finish.
How Often Should You Wax a Car by Hand
Figuring out the right frequency for hand waxing is key to keeping your car’s paint protected and looking brilliant. Most car experts generally recommend waxing your vehicle every 3-4 months, or quarterly, for the best paint protection. However, this schedule depends on the type of wax used, your local climate, and how the car is stored.
Carnauba waxes typically last 2-3 months, while synthetic polymer sealants can provide protection for 4-6 months. Cars exposed to harsh conditions—extreme sun, road salt, or industrial pollution—will need waxing more frequently, perhaps every 2-3 months. _It's important to understand that there is such a thing as "over-waxing," as applying it too often doesn't provide extra benefits and wastes product._
Detailing expert Todd Cooperider suggests using the water beading test as your main guide. He explains that when water stops beading tightly on the paint and starts "sheeting" (spreading out), it is a clear signal that your paint's protection is wearing thin and it's time to reapply.
FAQ
Q1: What is hand waxing a car?
A1: Hand waxing is the manual process of applying a protective wax coating to a vehicle's paint surface using applicator pads or microfiber cloths. This creates a vital barrier against environmental contaminants and significantly enhances the car's shine.
Q2: Why is proper preparation important before hand waxing?
A2: Proper preparation, which includes thorough washing and decontamination with a clay bar, is crucial because it ensures the wax achieves optimal adhesion and longevity. Skipping these steps can lead to the wax not bonding correctly, reducing its durability, and sealing in existing paint imperfections.
Q3: What are the main types of car wax for hand application?
A3: The main types include carnauba-based natural waxes (offering a warm glow for 2-3 months), synthetic polymer sealants (designed for maximum durability of 4-6 months), and hybrid formulations that combine the qualities of both.
Q4: How often should I wax my car by hand?
A4: It is generally recommended to wax every 3-4 months. However, this can vary based on the wax type, climate, and your car's exposure to harsh elements. The "water bead test" is a great way to determine when reapplication is needed.
Q5: What is the "water bead test" and why is it important?
A5: The water bead test involves spraying water on the waxed surface. If the wax is effective, water will form tight, uniform beads that roll off easily. If water starts to spread across the surface (sheeting), it's a clear sign that the wax protection has degraded and it's time to reapply.

Jake Morrison writes about DIY car care at CarCareNote. He’s been detailing cars in his Ohio driveway for over a decade and shares what actually works at home.