how to use clay bar on car: 8 Steps to a Brilliant Shine
I vividly remember the frustration after what I thought was a thorough wash of my first car. From a distance, the paint looked decent, but up close, it felt like sandpaper, completely lacking the smooth, glass-like finish I admired on newer cars. That’s when a seasoned car enthusiast helped me discover the magic of a clay bar. He claimed it was the secret weapon for truly clean paint, and I was skeptical. But after seeing the transformation on my own car and feeling that incredible slickness for the first time, I became a believer. It completely changed my approach to car care, proving that true cleanliness goes beyond just soap and water.
Understanding Clay Bar for Cars
What is a clay bar for cars?
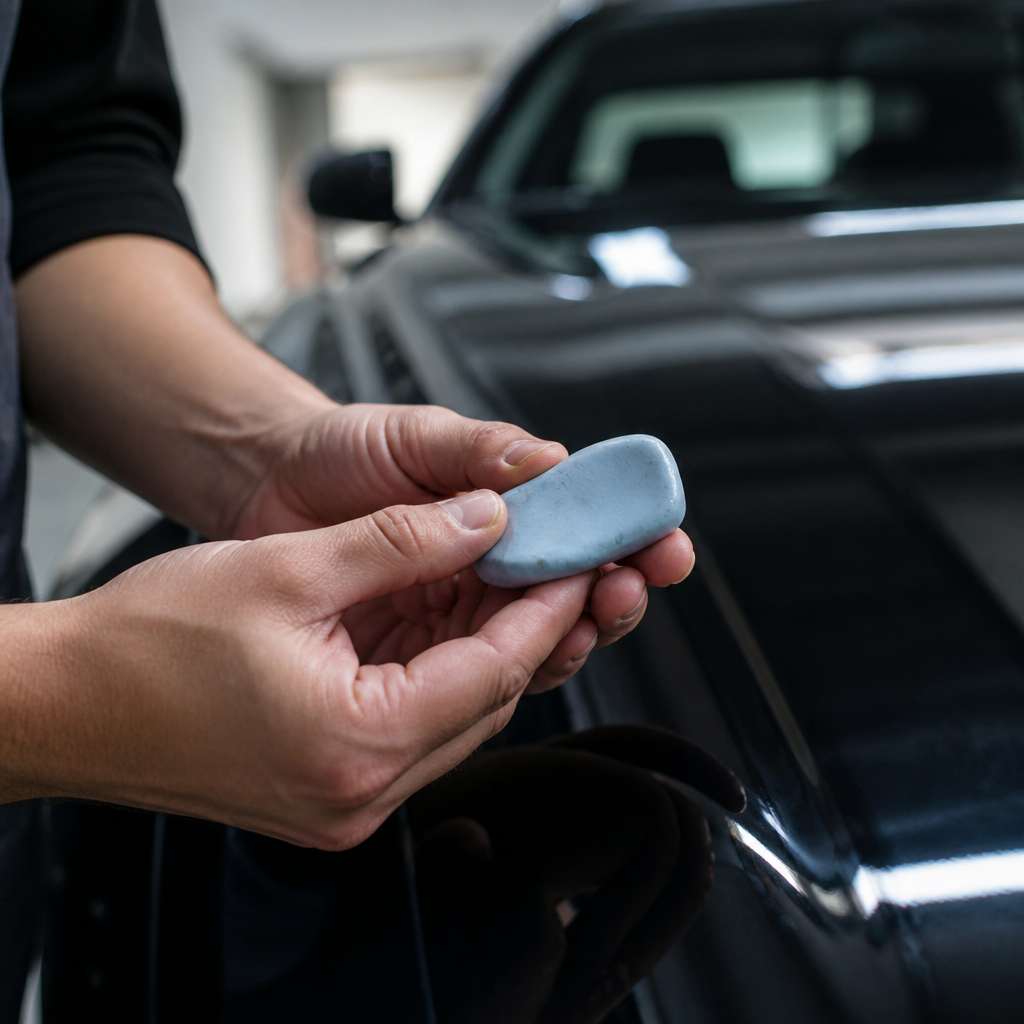
Think of a clay bar as a specialized piece of resin for your car’s paint. It’s made from a compound designed to tackle a problem that regular car washing can’t fix: tiny, invisible bits of gunk that stick to or embed themselves in your car’s clear coat. Your car faces environmental contaminants daily, such as industrial fallout, tree sap, tar, and rail dust. These don’t just sit on the surface; they bond to your paint, making it feel rough. The clay bar’s job is to gently pull these stubborn, embedded impurities out, leaving your paint feeling smooth again.
What makes a clay bar effective is its blend of a flexible resin compound with microscopic abrasive particles. The amount and size of these particles determine the clay’s “aggressiveness,” typically found in fine, medium, and aggressive grades. Fine-grade clay is the gentlest, perfect for light contamination. Medium-grade is a good all-rounder, and aggressive clay is for heavily neglected surfaces but requires an experienced hand.
When you flatten a piece of clay and glide it over a lubricated paint surface, its sticky texture grabs onto embedded contaminants and pulls them out. The lubricant is crucial—it creates a slippery layer between the clay and your car’s paint, preventing the clay from dragging and stopping trapped contaminants from scratching the finish. _Without enough lubrication, you’d just be dragging dirt across your finish._ In my experience, more lubricant is always better. Surface chemistry studies confirm its effectiveness, showing that it significantly reduces bonded contaminants and restores the paint’s original smoothness.
Clay bar on car paint benefits
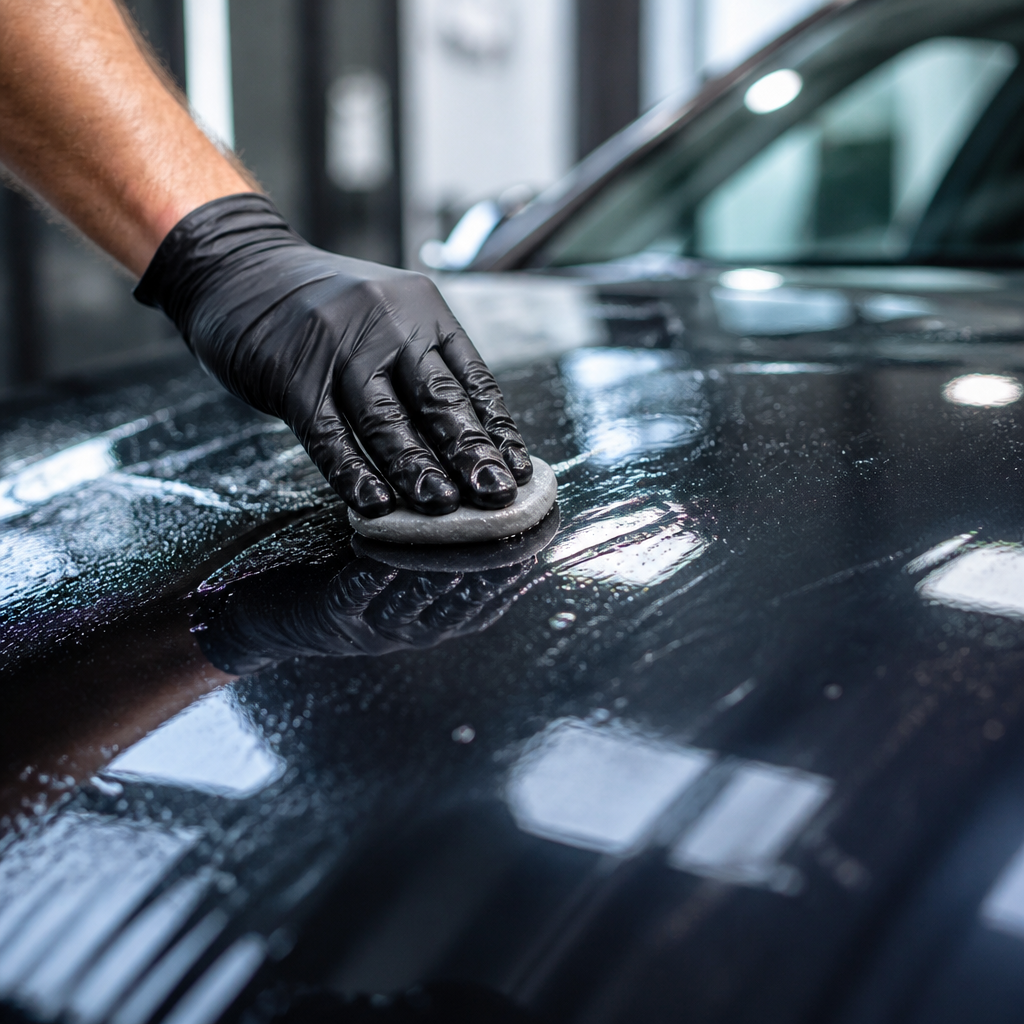
One of the most satisfying benefits is feeling your car’s paint go from rough to incredibly smooth. A clay bar pulls out all the hidden contaminants like industrial fallout and tree sap, leaving a surface that genuinely feels like glass. This smoothness makes a huge visual difference. When light hits a perfectly smooth surface, it reflects evenly, giving your car a much deeper, more vibrant, and mirror-like shine.
Beyond looks, clay bar treatment is essential before applying protective coatings like waxes, sealants, or ceramic coatings. If your paint is covered in tiny particles, your protection can’t properly bond to the clear coat. By thoroughly decontaminating the paint with a clay bar, you create a pristine, super-smooth surface that allows these protective layers to adhere much more effectively and evenly. This better bond means your protection will last longer and perform better, causing water to bead and roll off more efficiently.
Regularly using a clay bar also acts as a shield against long-term paint damage. Metallic particles from industrial fallout can oxidize and rust, creating ugly spots. Tree sap can etch permanent marks, and tar can cause stubborn stains. By consistently removing these contaminants, a clay bar helps prevent etching, staining, and other forms of paint degradation, saving you from costly paint correction services down the road.
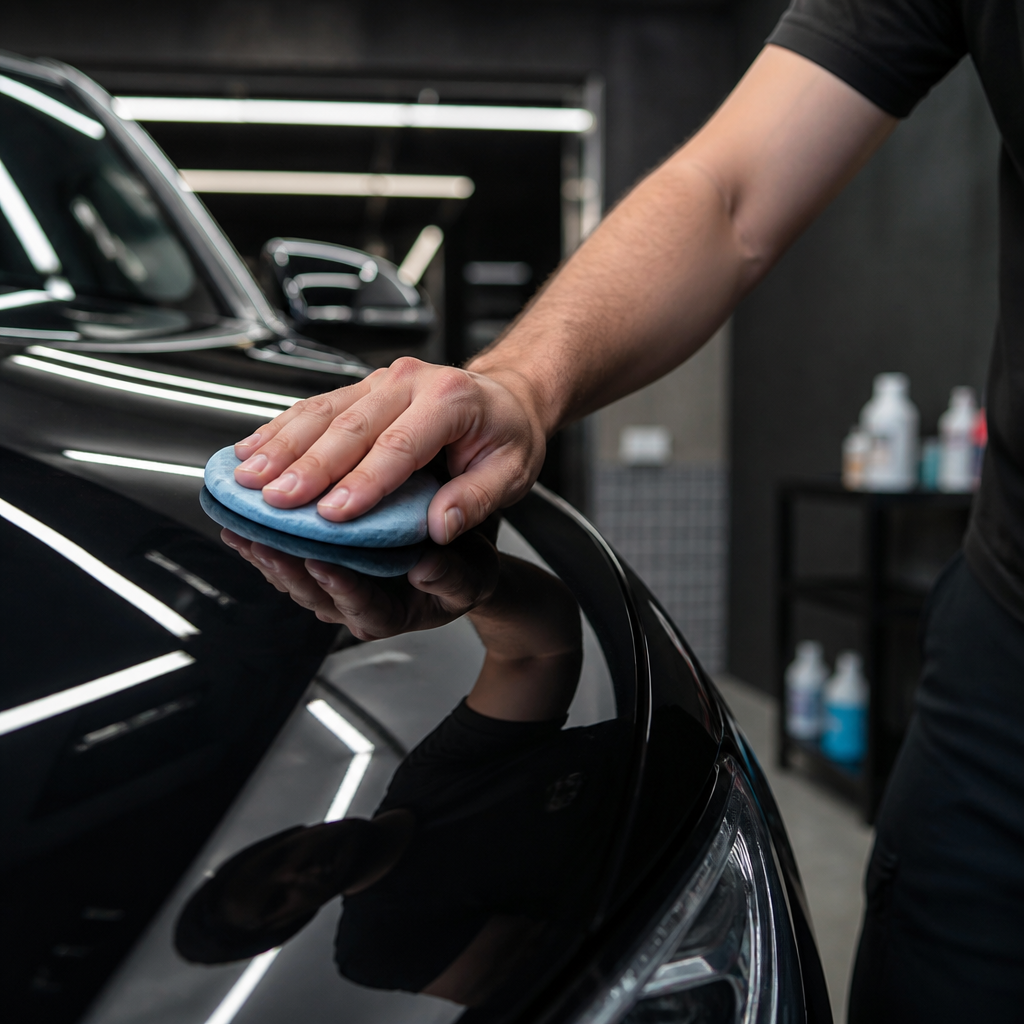
How to Clay Bar a Car: Step-by-Step Process
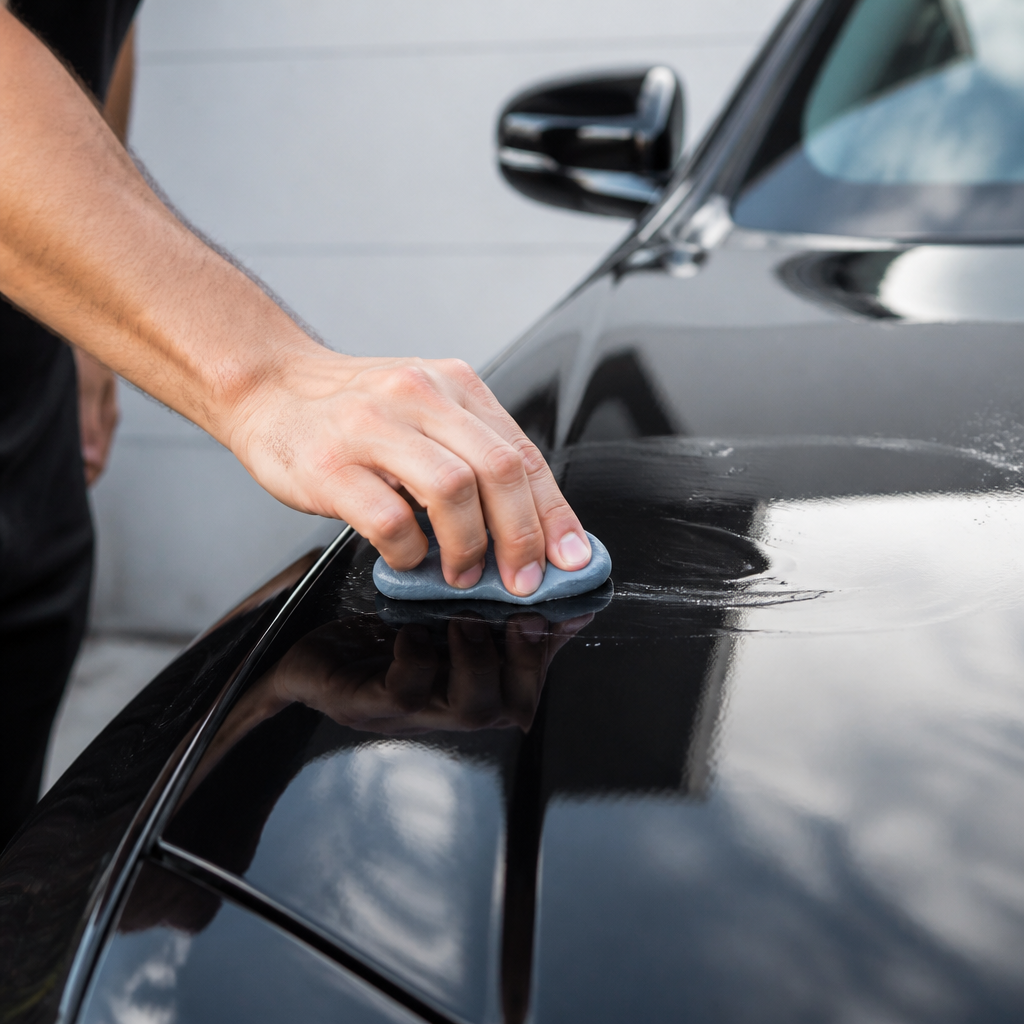
Clay bar on car before or after wash?
The order is a golden rule for protecting your paint. *You must always use a clay bar after your car has been thoroughly washed and then dried.* The initial wash gets rid of all loose dirt and grime. If you don’t remove these particles, the clay bar will pick them up and drag them across the paint, acting like sandpaper. This can cause nasty scratches and swirl marks that require polishing to remove.
The importance of washing first is stressed by every professional detailer.
Larry Kosilla, from AMMO NYC, always emphasizes it. He says, “The proper sequence is critical for paint safety. Wash first to remove loose particles, then clay on clean paint. Attempting to clay a dirty car is like using sandpaper—you’ll create marring and swirl marks that require polishing to remove.”
From a technical standpoint, washing and claying are two distinct jobs. The wash removes loose debris, allowing the clay bar to effectively target the tougher, microscopic contaminants stuck in the paint. It’s a two-step process for a truly deep clean. Beyond the sequence, your work environment is crucial. After washing and drying, ensure the paint is cool to the touch. _Trying to clay a car in direct sunlight or when the paint is hot causes your clay lubricant to evaporate almost instantly_, increasing friction and the risk of scratches. Always work in the shade.
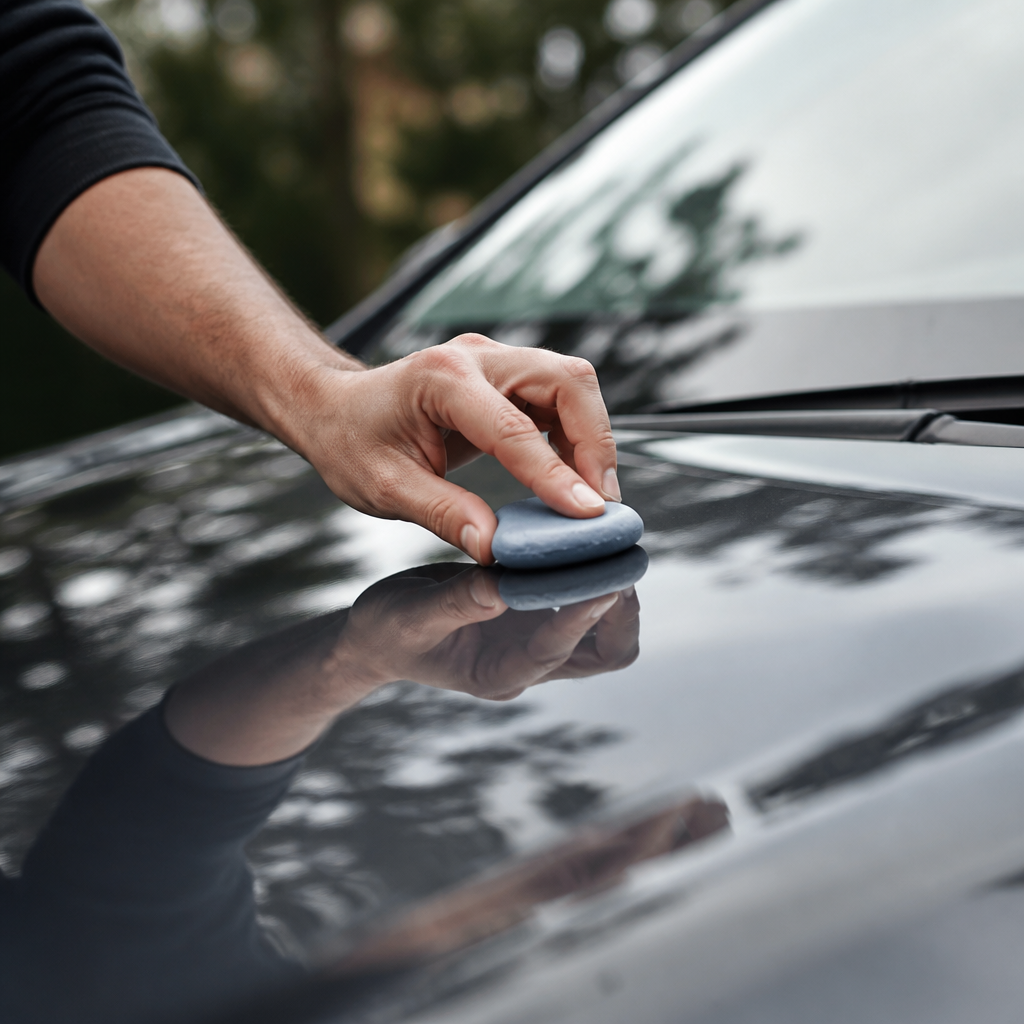
how to clay bar a car step by step
- Preparation: Start by giving your car a thorough wash and dry to remove all loose dirt. Move the car to a shaded spot where the paint is cool. Gather your supplies: a clay bar, a dedicated clay lubricant (or a quality quick detailer), and several clean microfiber towels.
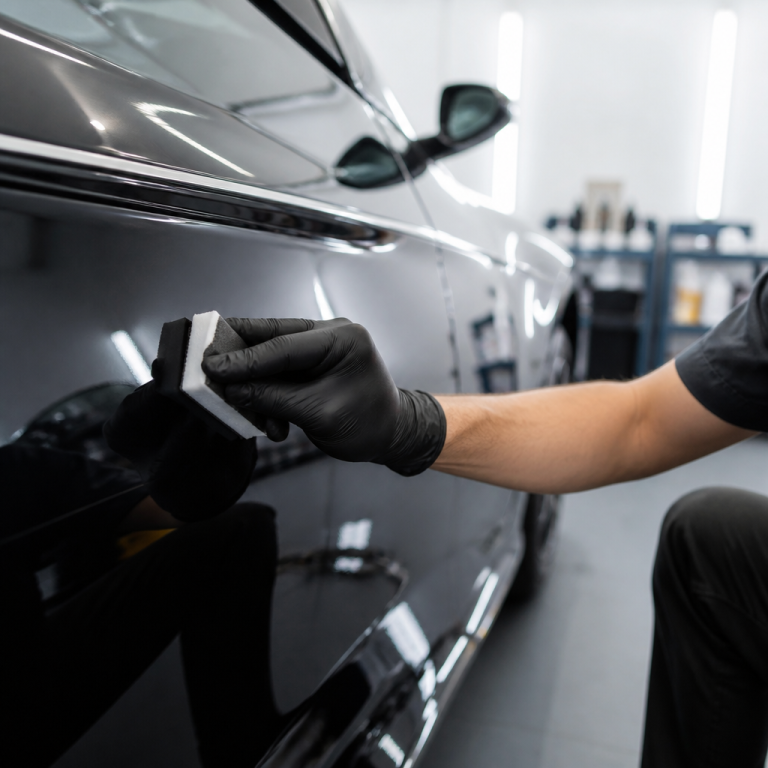
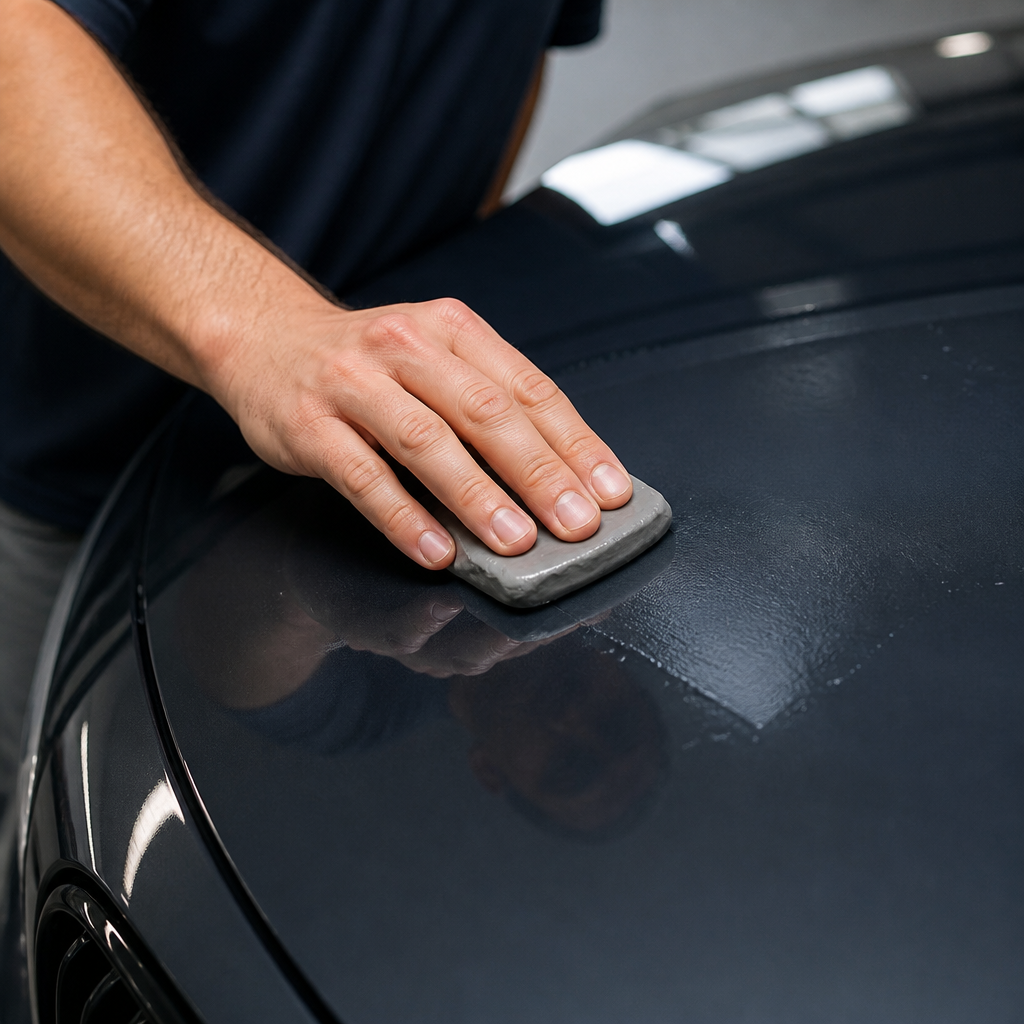
- Knead the Clay: Take a piece of your clay bar (about 1.5 to 2 ounces) and knead it in your hands until it becomes soft and pliable. Flatten it into a disc shape, roughly 3-4 inches across.
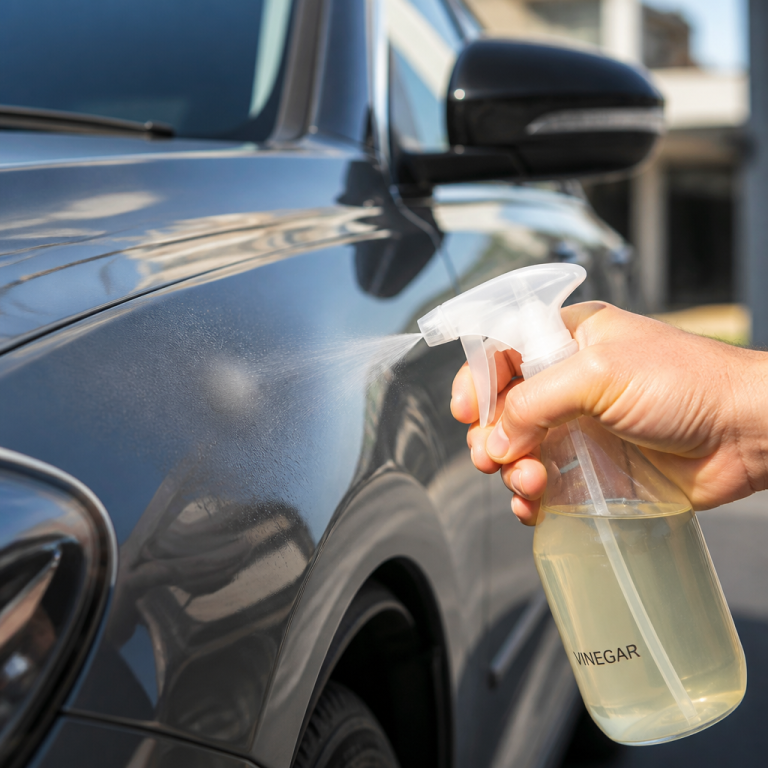
- Lubricate the Surface: Pick a small section to work on, no larger than 2×2 feet. Liberally spray this section with your clay lubricant until it is completely wet. This slick barrier is essential to allow the clay bar to glide smoothly without causing scratches.
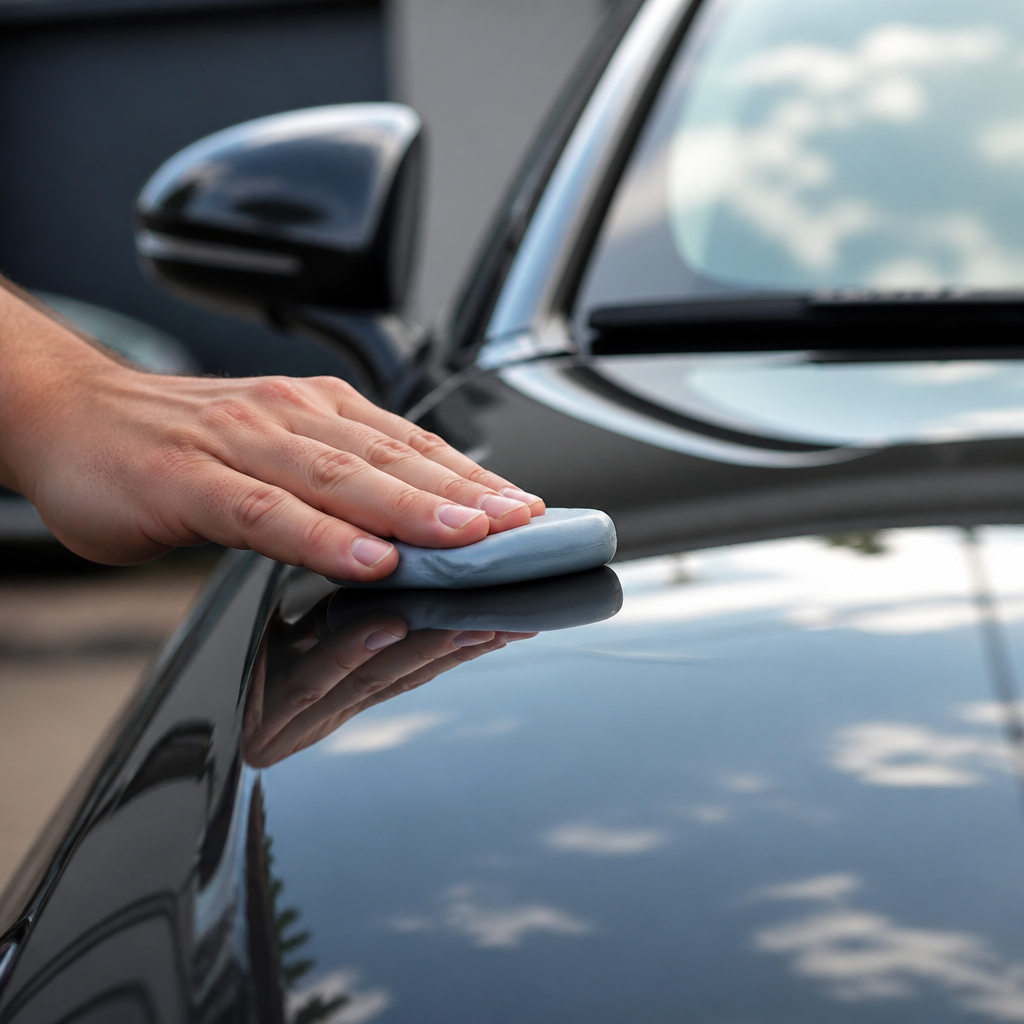
- Glide the Clay Bar: Gently glide the clay bar across the lubricated surface using very light pressure. Move it in straight, overlapping passes, either horizontally or vertically. You may feel it dragging slightly at first; as the surface becomes clean, it will glide more smoothly.
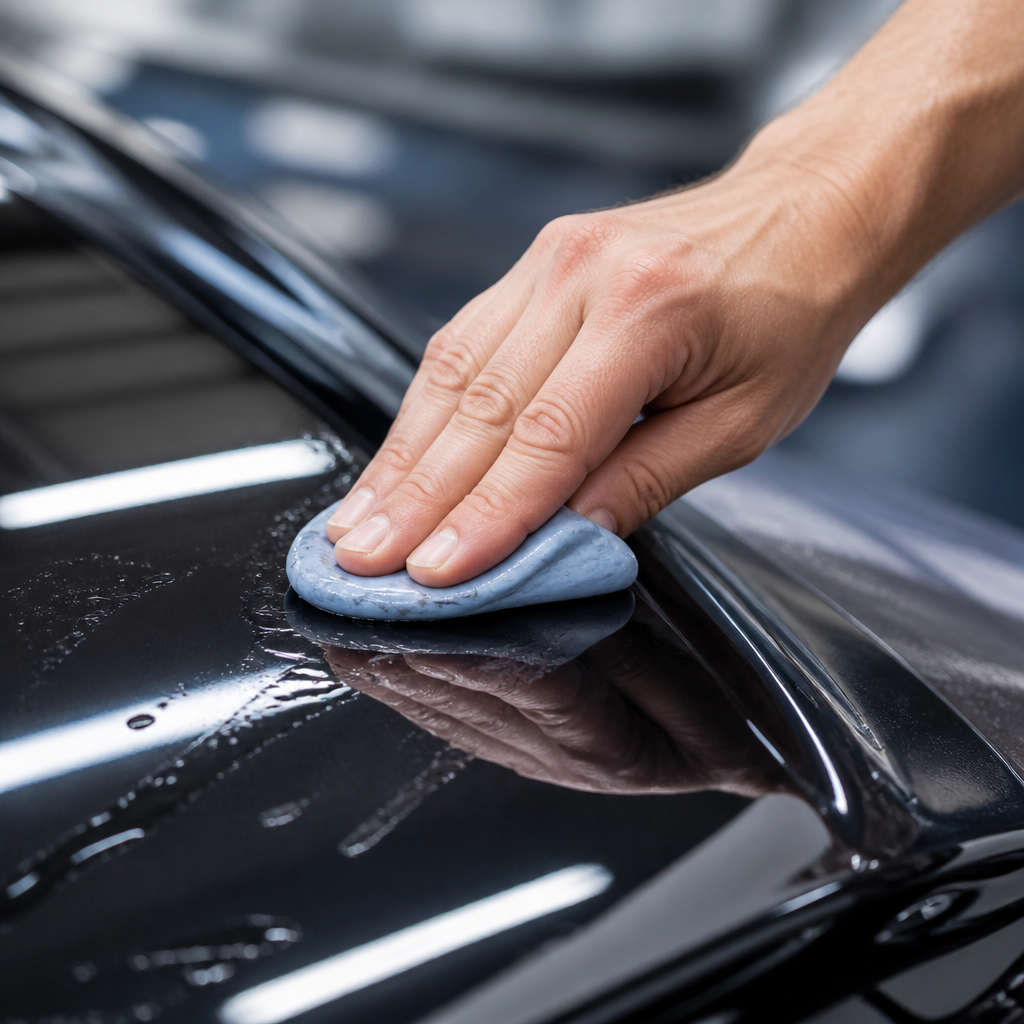
- Fold and Knead: Frequently inspect the clay. When it looks dirty, fold it in half and knead it to expose a fresh, clean surface. This prevents you from rubbing the collected contaminants back onto the paint. And here’s a critical rule: if your clay bar falls on the ground, throw it away immediately! A dropped bar will pick up abrasive particles that will severely scratch your paint.
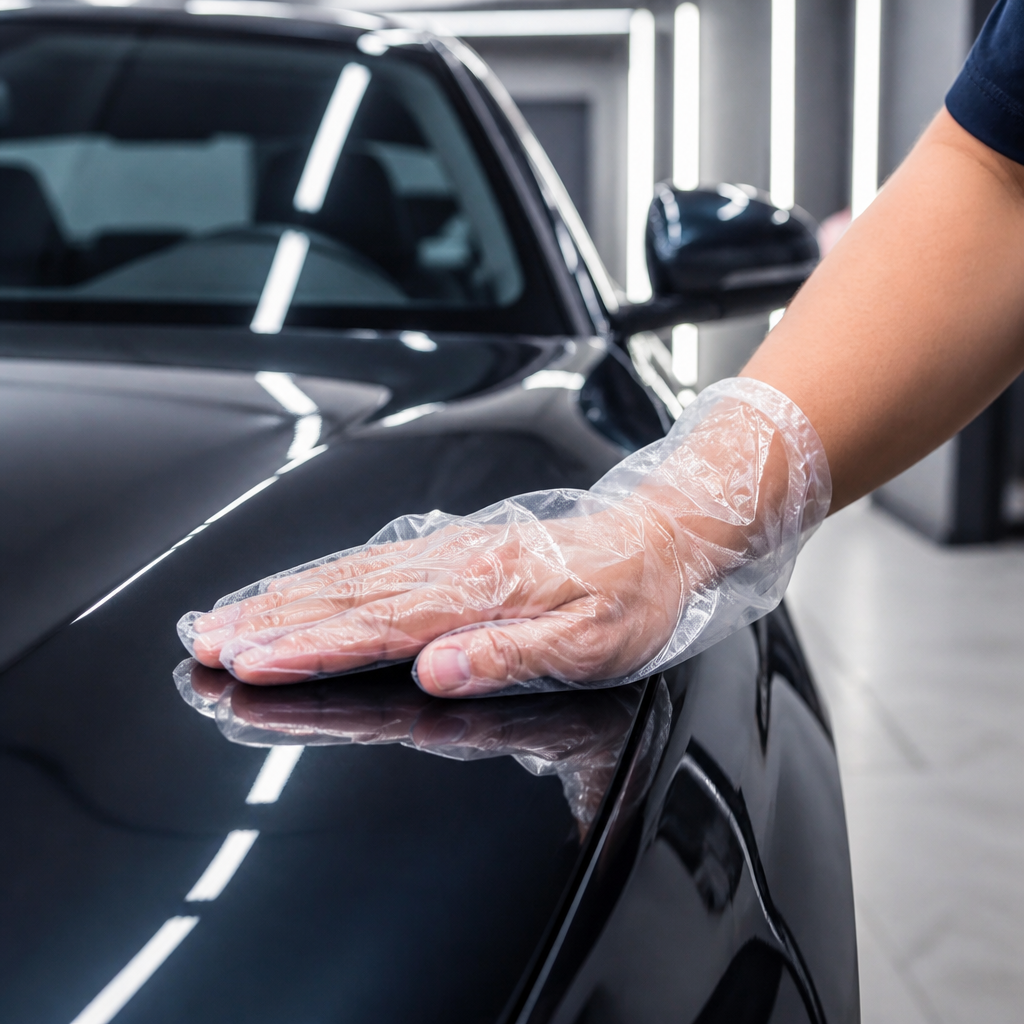
- Perform the “Baggie Test”: To confirm the section is clean, place your hand inside a thin plastic sandwich bag and gently run it over the paint. The plastic enhances your sense of touch, allowing you to feel any remaining roughness. If it’s perfectly smooth, you’re done with that section.
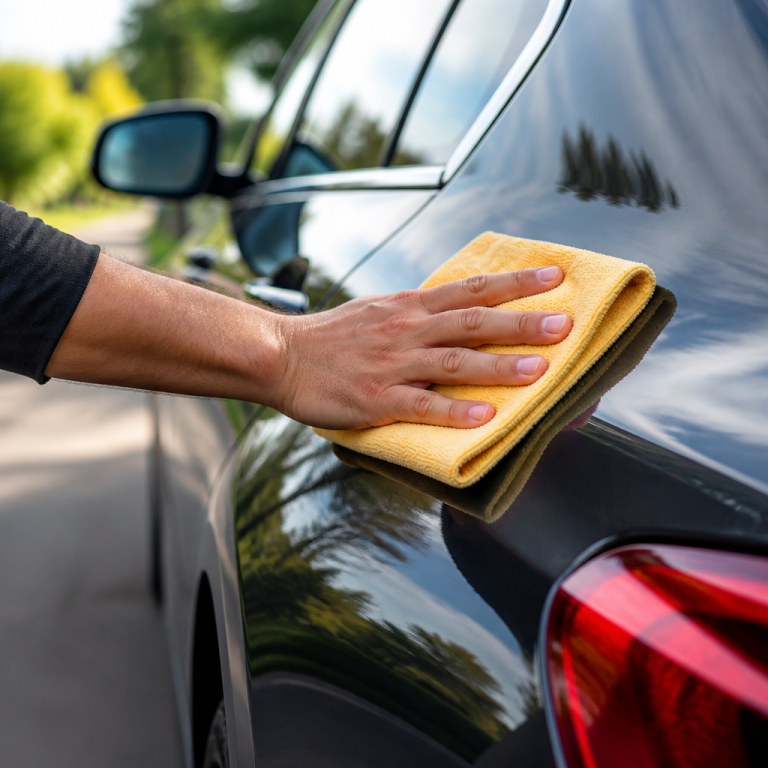
- Wipe Off Residue: Once a section is finished, use a clean, dry microfiber towel to gently wipe away any leftover clay lubricant before it dries.
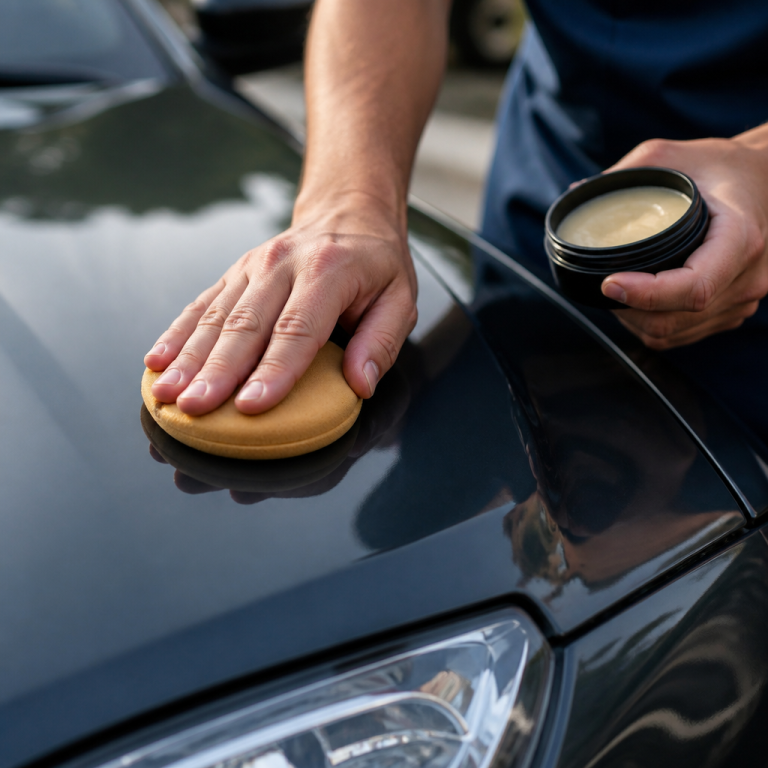
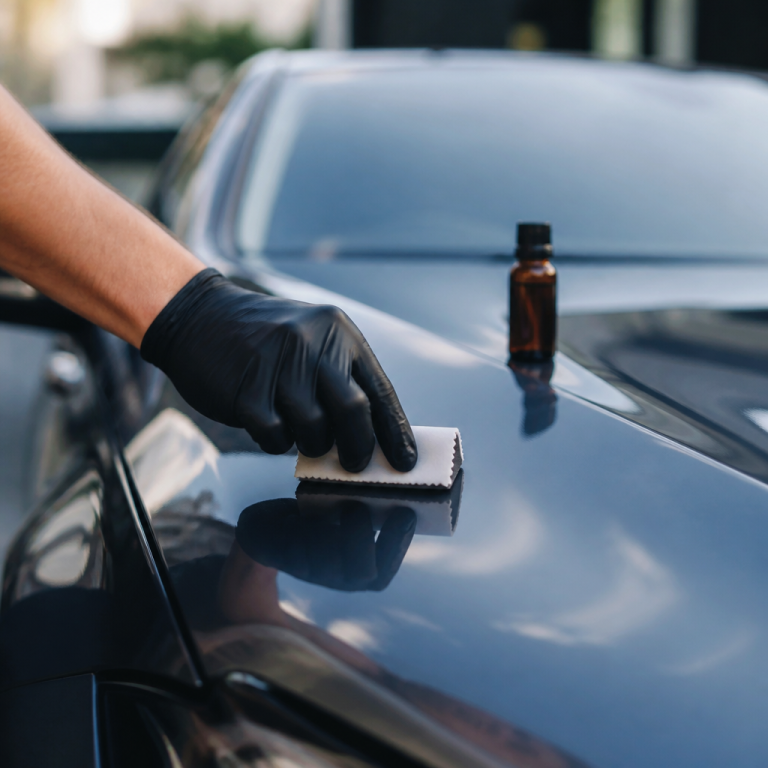
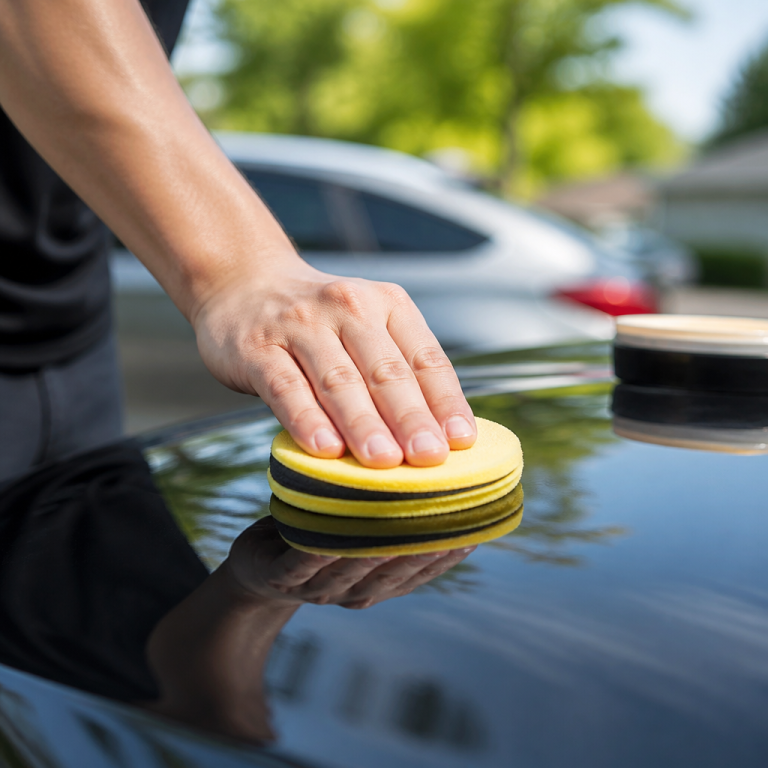
- Apply Protection: Freshly clayed paint is exposed and vulnerable. Within 24-48 hours, apply a good quality wax, sealant, or ceramic coating to protect the newly decontaminated surface and lock in the smoothness.
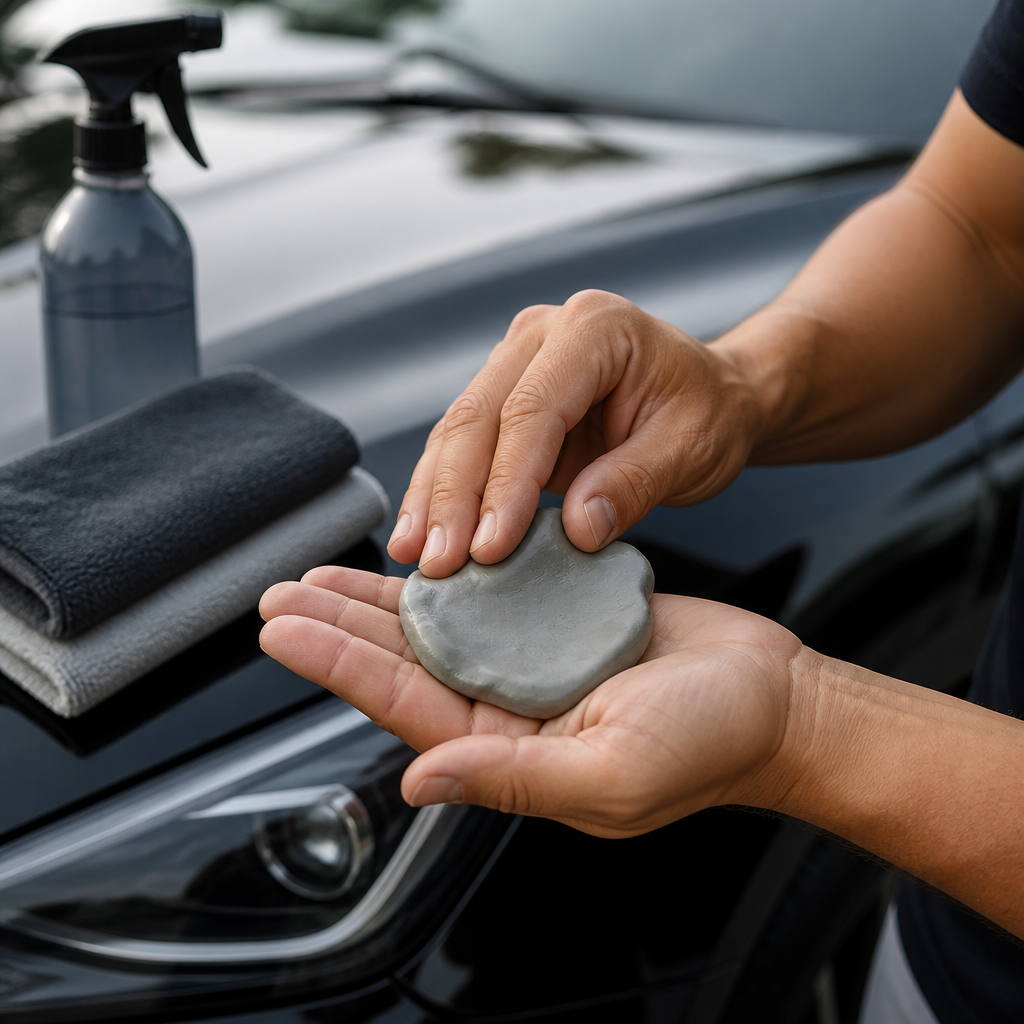
Best clay bar for car detailing
For many professionals, Meguiar’s Professional Clay Bar (C-2100) is a gold standard. It’s a medium-grade clay effective at removing most contaminants without being overly aggressive. For beginners or cars with light contamination, the Mothers California Gold Clay Bar System is an excellent choice. This kit includes a fine-grade, gentle clay and a lubricant, making it a convenient all-in-one solution.
Synthetic alternatives like the Nanoskin AutoScrub Fine Grade Sponge have become popular. Unlike traditional clay, synthetic options are durable, reusable, and often machine-washable, making them a cost-effective choice. They can also speed up the decontamination process. While traditional clay bars offer superior “tactile feedback”—letting you feel the contaminants being removed—synthetic options provide amazing durability and time savings.
For DIY enthusiasts, the Chemical Guys Medium Grade Clay Bar is a solid, budget-friendly option, typically providing enough material for 3-4 full vehicle treatments. Ultimately, the best choice depends on your experience, your car’s condition, and your preference for traditional clay or modern synthetic alternatives.
Clay Bar Usage and Comparison
How often to use clay bar on car?
For most daily-driven cars, experts suggest a clay bar treatment twice a year. This schedule prevents bonded contamination from building up and damaging your clear coat. However, frequency depends heavily on your car’s environment. If you live near industrial zones or train tracks, you may need to clay every 3-4 months. Cars kept in a garage are more shielded and may only need treatment once a year.
Rather than a rigid schedule, a practical approach is best.
Mike Phillips, a well-known detailing expert, strongly advocates for this method. He advises, “Clay bar frequency should be determined by the touch test, not arbitrary schedules. Run your hand over the paint in a plastic bag—if you feel roughness, it’s time to clay.”
The most reliable method is the “baggie test”—if the paint feels rough through a thin plastic bag, it’s time to clay. This ensures you only clay when necessary. While beneficial, it’s important not to overdo it. _Over-claying, especially using an aggressive clay bar more than quarterly, can gradually thin your clear coat over many years._
Clay bar on car vs polishing
Understanding the difference between claying and polishing is fundamental. *A clay bar is designed to remove bonded surface contaminants… Polishing, on the other hand, is a more abrasive process that uses compounds… to level the clear coat surface.* One cleans the surface of embedded particles; the other corrects imperfections within the clear coat itself, such as swirl marks, light scratches, and oxidation.
In professional detailing, clay bar treatment must always happen before polishing. Trying to polish a contaminated car will grind the embedded particles into the paint, creating deeper scratches and ruining your efforts. Claying removes what’s on the paint, while polishing removes what’s in the paint.
| Feature | Clay Bar Treatment | Polishing |
|---|---|---|
| Primary Goal | Removes bonded surface contaminants (e.g., fallout, sap) | Removes below-surface defects (e.g., swirls, scratches) |
| Process | Mechanical lifting of particles | Abrasive leveling of the clear coat |
| Clear Coat Removal | Negligible (less than 0.05 microns) | Significant (0.5 – 2.0 microns per session) |
| Frequency | 2-4 times per year, as needed | 1-2 times per year, maximum |
| Required Before | Must be done before polishing or applying protection | Must be done after claying |
Because polishing is abrasive, it should be limited to once or twice a year to preserve your clear coat’s thickness. Claying, which removes almost no clear coat, can be done more often as needed. Claying is also relatively inexpensive and requires minimal skill, whereas polishing is a significant investment in tools and expertise.
Using a clay bar on your car is a fundamental step in achieving a pristine paint finish. By understanding what a clay bar is, its benefits, and the correct application process, you can remove stubborn contaminants that washing leaves behind. This not only restores your paint’s smoothness and gloss but also prepares the surface for protective coatings, contributing to the long-term preservation of your vehicle. Incorporating this practice into your routine will dramatically enhance your car’s appearance and safeguard its paint for years to come.

Jake Morrison writes about DIY car care at CarCareNote. He’s been detailing cars in his Ohio driveway for over a decade and shares what actually works at home.