how to detail a car at home: 7 Easy Steps for Success
I remember the first time I really _detailed_ my old Honda Civic back in college. It wasn't just a quick wash; it was an afternoon-long project that transformed it from a commuter car to something I was genuinely proud of. That feeling of stepping back and seeing the paint gleam, the interior spotless, was incredibly satisfying. It's a deep connection you build with your car, a hands-on way to make it truly yours, and frankly, it saved me a ton of money over professional services. Detailing goes beyond a simple wash; it involves a thorough cleaning, restoration, and finishing of a vehicle, both inside and out, to bring it to a showroom-quality cleanliness and polish. By taking the time to learn the proper techniques and gather the right supplies, you can significantly enhance your car's aesthetic appeal, protect its surfaces, and potentially increase its resale value. Discover how to connect with your vehicle on a different level, ensuring it looks its best while saving you money in the long run.
What You Need to Detail a Car at Home?
Preparing for a car detailing session at home involves more than just grabbing a bucket and sponge. Having the right tools and products is crucial for achieving effective and safe results. Investing in quality supplies not only makes the job easier but also protects your vehicle's delicate surfaces from potential damage. Understanding what each product does and how to use it correctly can make a significant difference in the final outcome, transforming your car from merely clean to truly detailed. This section will outline the essential items you'll need, provide insights into the time commitment, and offer valuable tips for beginners to ensure a smooth and successful detailing experience.
Supplies Needed to Detail a Car at Home
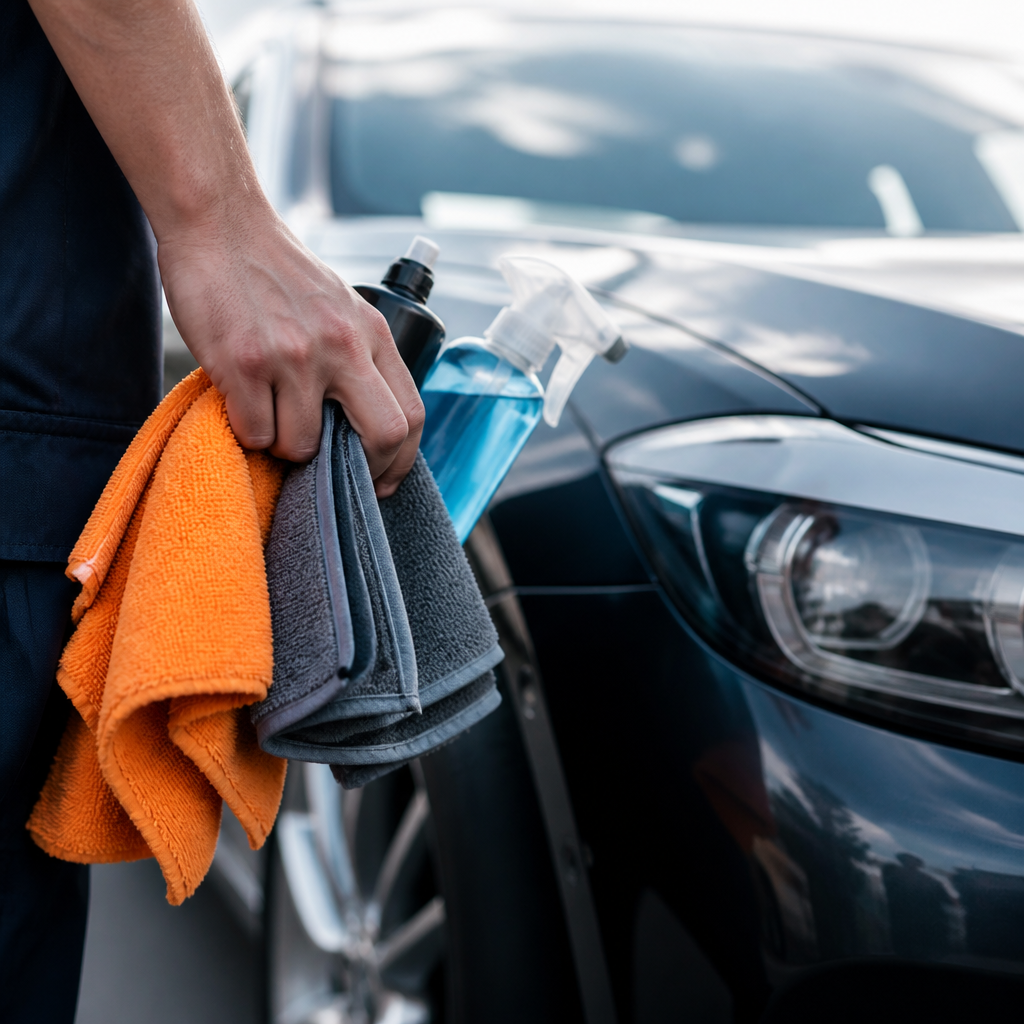
To embark on your home car detailing journey, a comprehensive set of supplies is essential. For the exterior, you'll need high-quality car wash soap, a dedicated wheel cleaner, and tire dressing. A clay bar is crucial for paint decontamination, while polish and wax or sealant are necessary for paint correction and protection. For the interior, a reliable vacuum, an all-purpose interior cleaner, and a streak-free glass cleaner are fundamental. The right tools are also indispensable.
Here is a basic list of supplies to get you started:
- Washing & Drying: Two buckets with grit guards, pH-neutral car wash soap, a wash mitt, and several soft microfiber towels for drying.
- Wheels & Tires: A dedicated wheel cleaner, tire dressing, and various brushes.
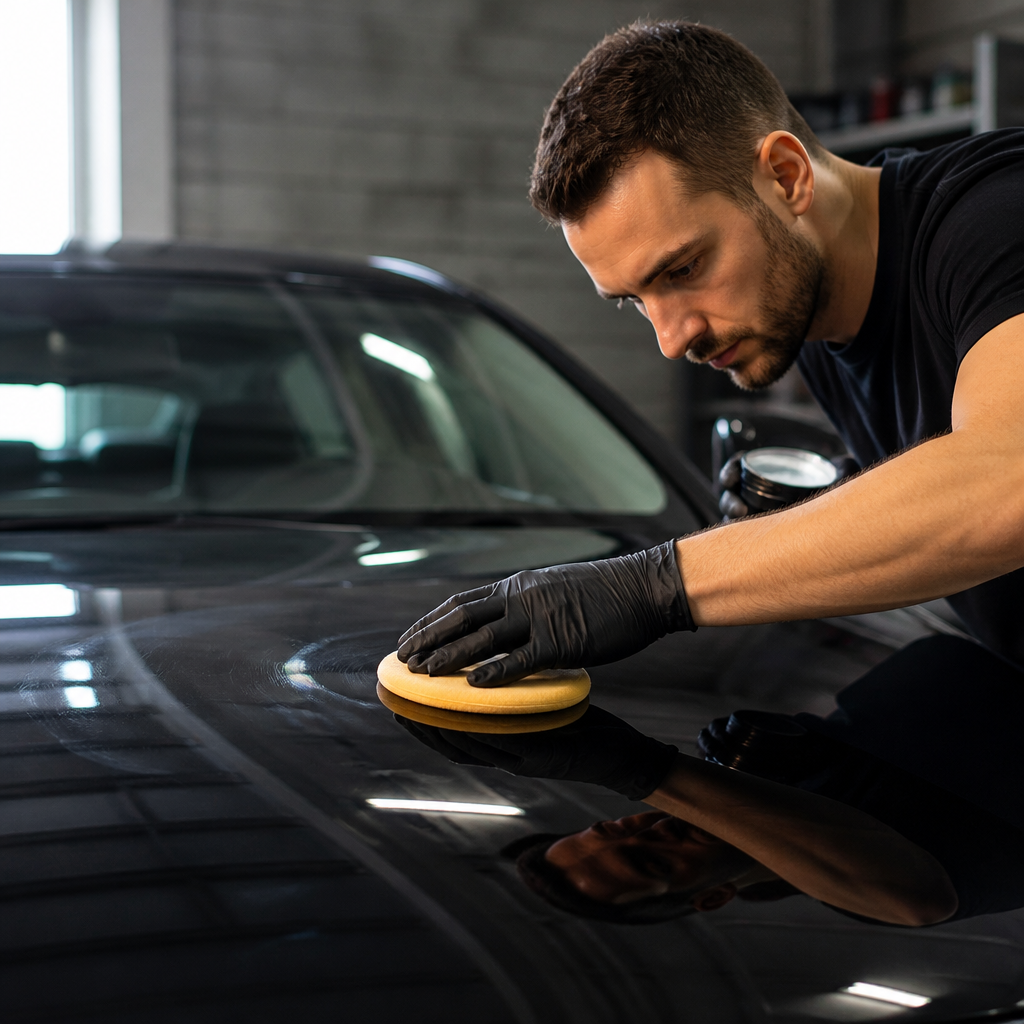
- Paint Decontamination & Protection: A clay bar with lubricant, a polish or compound (if needed), and a wax or sealant for protection. Applicator pads are used for applying these products.
- Interior Cleaning: A wet-dry vacuum with attachments, an all-purpose interior cleaner, glass cleaner, and soft-bristle brushes for delicate areas.
- Specialty Items (Optional): A dual-action polisher for paint correction, a steam cleaner for deep sanitization, and UV protectant for the dashboard.
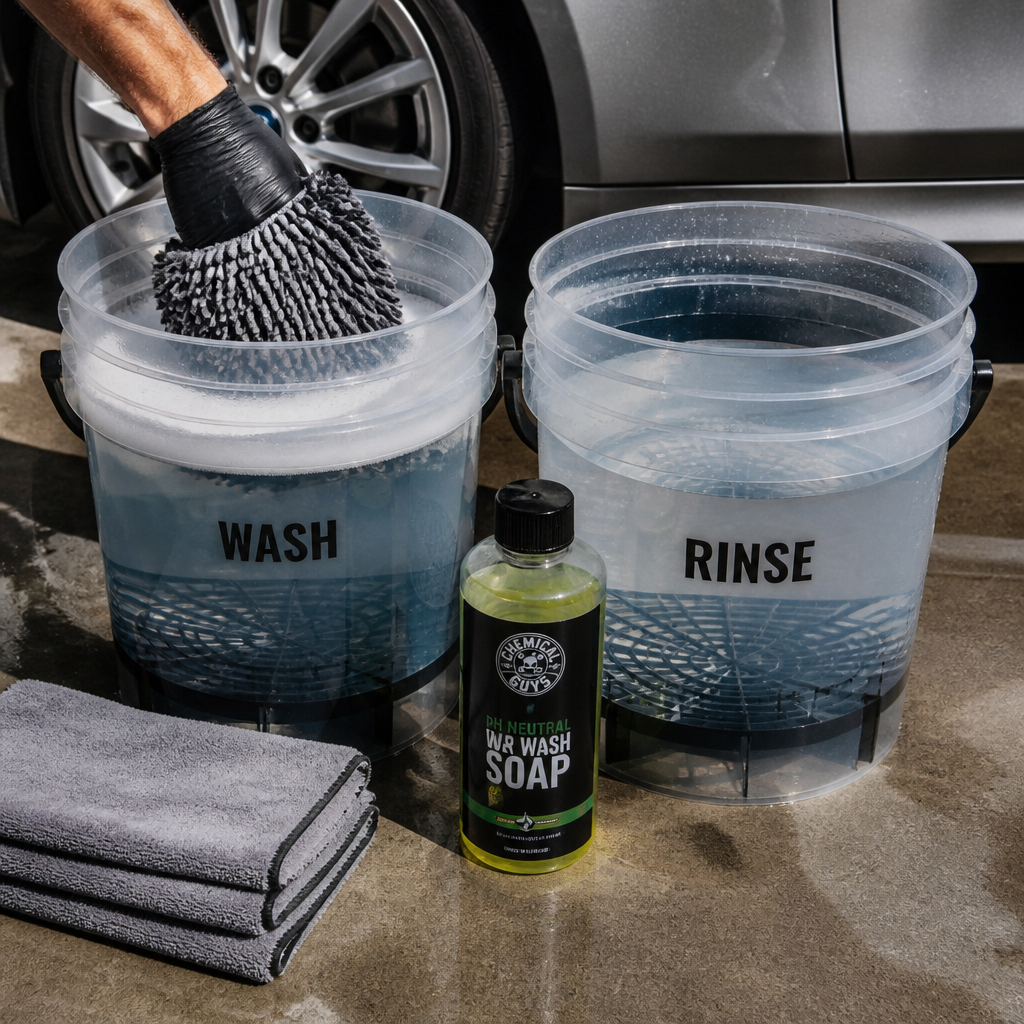
An essential piece of equipment for exterior washing is the two-bucket wash system. This system involves one bucket for soapy water and another for rinsing your wash mitt, effectively preventing dirt and grime from being reintroduced to your car's paint and significantly reducing the risk of scratching. Using pH-neutral car wash soap is also critical as, unlike household dish soap, it is gentle and preserves your car's protective wax layers and finish. To enhance the pre-wash process, a foam cannon or foam gun can be incredibly beneficial by creating a thick foam that loosens dirt before any contact washing begins.
Lastly, a UV protectant for the dashboard and other plastic surfaces will help prevent fading and cracking over time. A basic home detailing kit can cost anywhere from $50-$150, but these supplies are often sufficient for 10-20 detailing sessions. Considering a single professional detail can range from $150-$300, this makes DIY detailing not only a fulfilling hobby but also a financially smart choice with substantial long-term savings.
How Long Does It Take to Detail a Car at Home?
The time commitment for detailing a car at home can vary significantly, especially for beginners. A complete car detailing session for a novice typically takes approximately 4-6 hours. This estimate breaks down into several key stages, though actual times can fluctuate based on the vehicle's size, its condition, and the detailer's experience level. Professional detailers, with their extensive experience and commercial-grade equipment, can often complete a full detail in 2-3 hours.
Experts like Mike Phillips, Director of Training at Autogeek, emphasize that home detailers should resist the urge to rush. Proper "dwell times" for cleaning products are critical for them to effectively break down dirt and grime, ensuring optimal results without the need for aggressive scrubbing that could damage surfaces.
Here is a more detailed breakdown of the time allocation for various tasks:
| Task Area | Detailing Step | Estimated Time |
|---|---|---|
| Exterior | Pre-wash / Foam | 10 minutes |
| Hand Wash | 30-45 minutes | |
| Clay Bar Treatment | 30-60 minutes | |
| Polishing (Optional) | 60-90 minutes | |
| Wax / Sealant Application | 30-45 minutes | |
| Wheels & Tires | 30 minutes | |
| Interior | Vacuuming | 20-30 minutes |
| Surface Cleaning | 30-45 minutes | |
| Glass Cleaning | 15 minutes |
Several factors can influence the total time. Larger vehicles like SUVs can add 1-2 hours. A neglected car with heavy dirt or stains may require 8-10 hours. For first-time detailers, it's common for the initial session to extend to 6-8 hours. However, with practice, many home detailers find their time reduces considerably to 3-4 hours.
Tips to Detail a Car at Home for Beginners
For beginners, a few key tips can make the home detailing process smoother and help avoid common pitfalls. Following a systematic approach and being mindful of product application will yield impressive results.
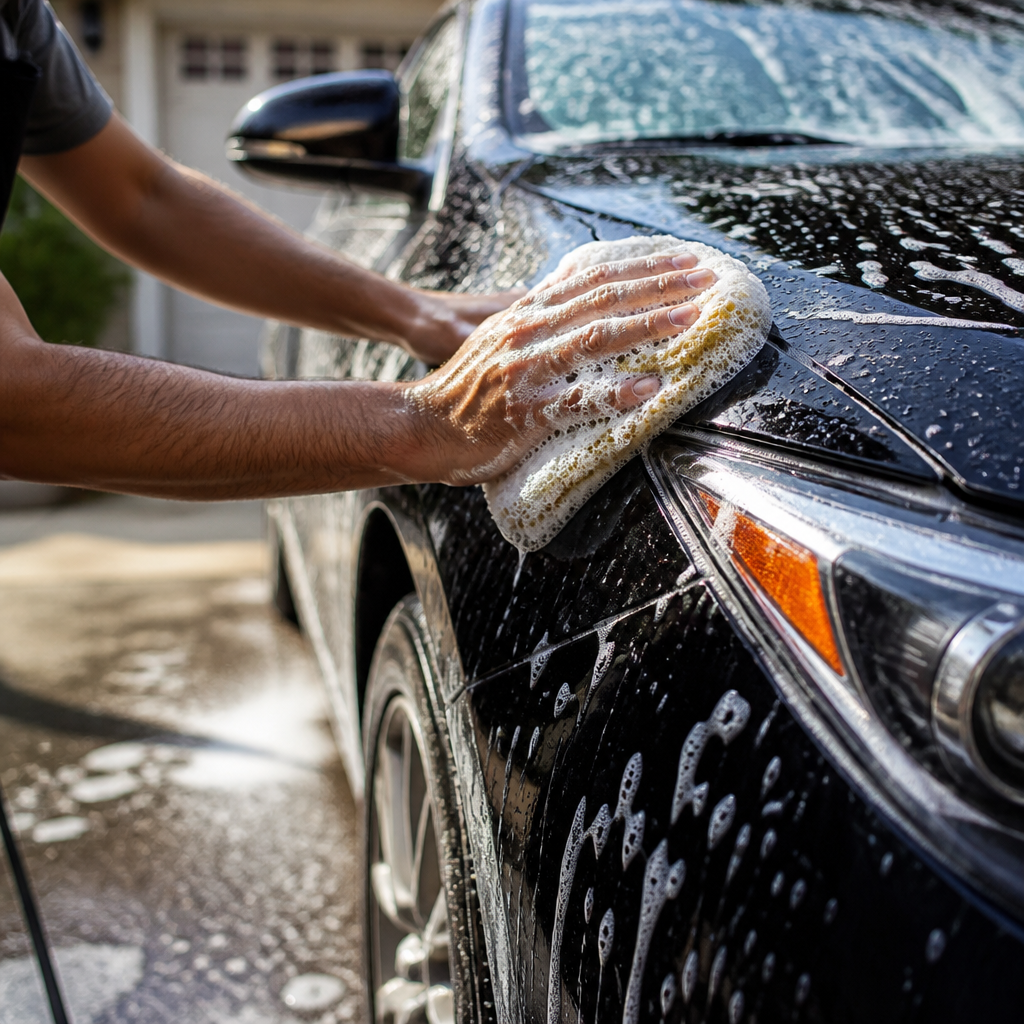
- Work in the Shade: One of the most crucial best practices is to always work in the shade or inside a garage. Direct sunlight can cause cleaning products and waxes to dry too quickly, leading to streaks, water spots, and making them difficult to remove.
- Wash Top to Bottom: Always wash from the top of the car downwards, using straight-line motions. The lower sections are typically the dirtiest, so washing them last prevents you from spreading heavy grime onto cleaner upper panels.
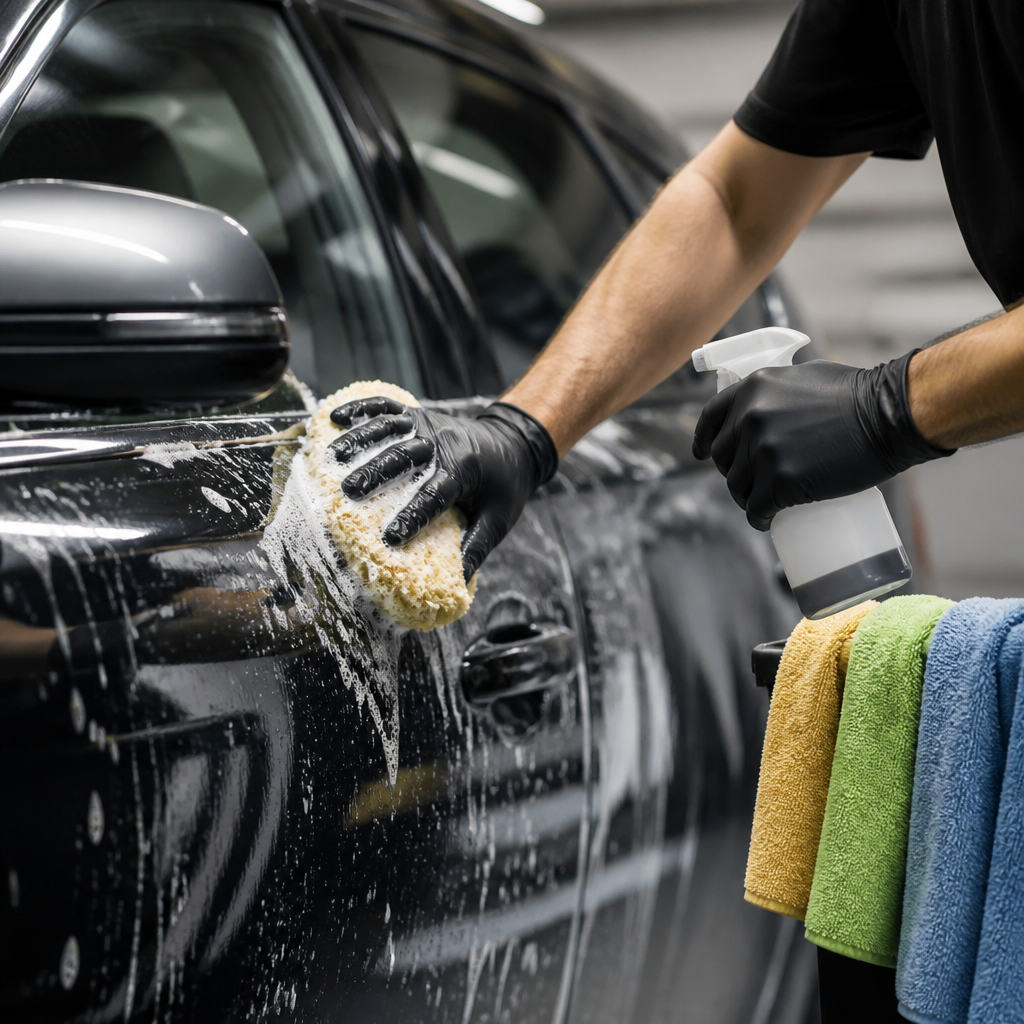
- Use Separate Tools: To prevent cross-contamination, _never use the same towel for cleaning wheels and tires as you do for paint surfaces_. Brake dust contains abrasive metal particles that can easily scratch your car's delicate paint. It is highly recommended to designate separate, color-coded towels for different tasks.
- Less is More: The adage "more is not better" holds true in detailing. Whether it's wax, polish, or interior dressings, applying thin, even layers yields the best results. Over-applying products wastes them and makes them harder to buff off.
- Test Products First: Before applying any new cleaning product to a large area, test it on an inconspicuous spot first. This ensures compatibility with your car's specific materials and prevents unexpected reactions.
- Allow Dwell Time: Let cleaning products sit on the surface for the time specified on their labels (typically 3-5 minutes). This "dwell time" allows the chemicals to break down dirt, reducing the need for aggressive scrubbing.
How to Detail a Car at Home Step by Step
Detailing a car at home is a comprehensive process that involves meticulous attention to both the exterior and interior. Each section requires specific techniques and products to achieve a truly clean and protected finish. This step-by-step guide will break down the entire process, starting with the exterior and moving into the intricacies of interior cleaning.
How to Detail a Car Exterior at Home
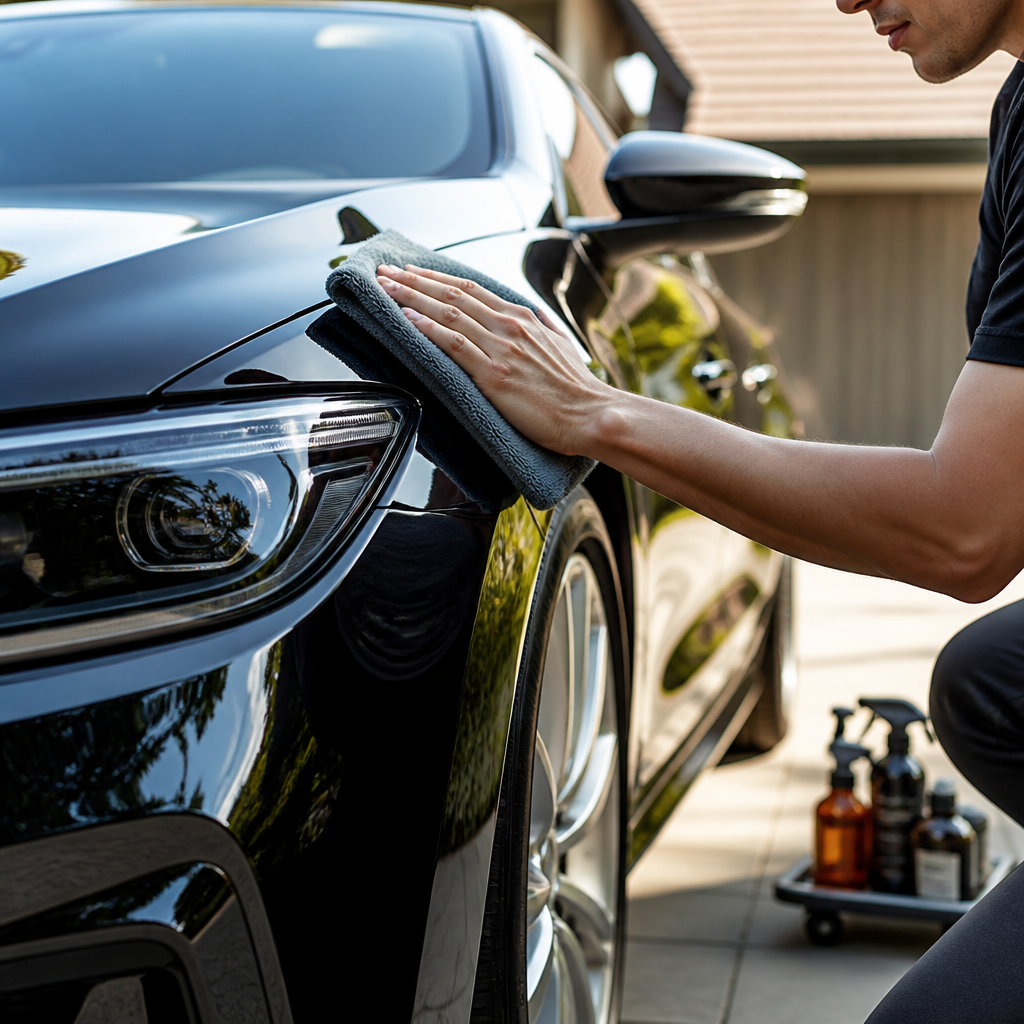
Detailing your car's exterior at home involves a systematic approach to ensure thorough cleaning, decontamination, and protection.
- Pre-Rinse and Wheels: Start with a pre-rinse to remove loose dirt. Then, focus on cleaning the wheels and tires first with dedicated products to prevent splashing brake dust and grime onto clean paint later.
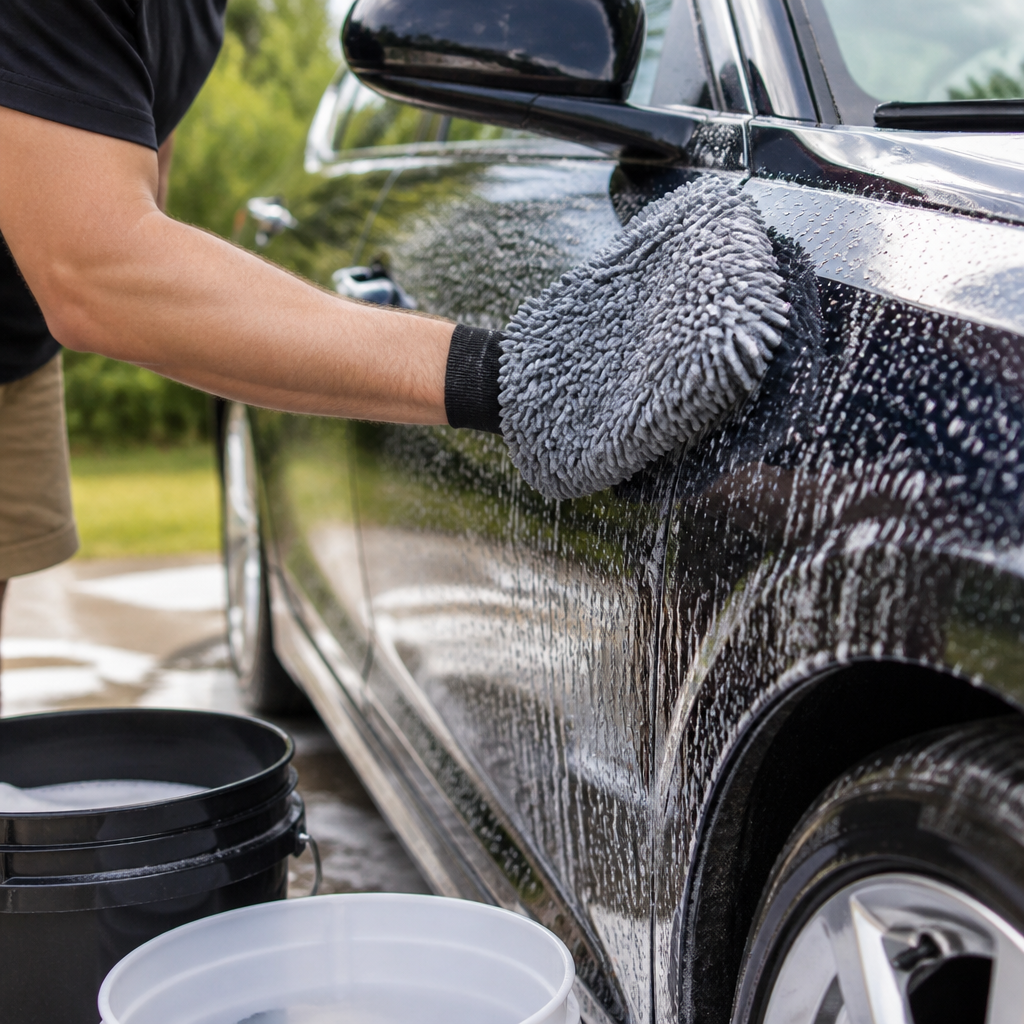
- Two-Bucket Hand Wash: Apply a foam or pre-wash solution to the car and let it dwell. Then, use the two-bucket method (one for soapy water, one for rinsing your mitt) to wash the car from top to bottom. This technique significantly reduces the risk of swirl marks.
- Paint Decontamination: Once washed, use a clay bar and lubricant on the paint. This process lifts off tiny bits of pollution like tree sap and industrial fallout that a regular wash cannot remove, leaving the surface smooth as glass. However, be aware that over-claying can be abrasive, _so use it only when necessary_.
- Drying: Dry the car thoroughly using dedicated microfiber drying towels or an air blower to prevent water spots. Pat the car dry rather than dragging the towel across the paint.
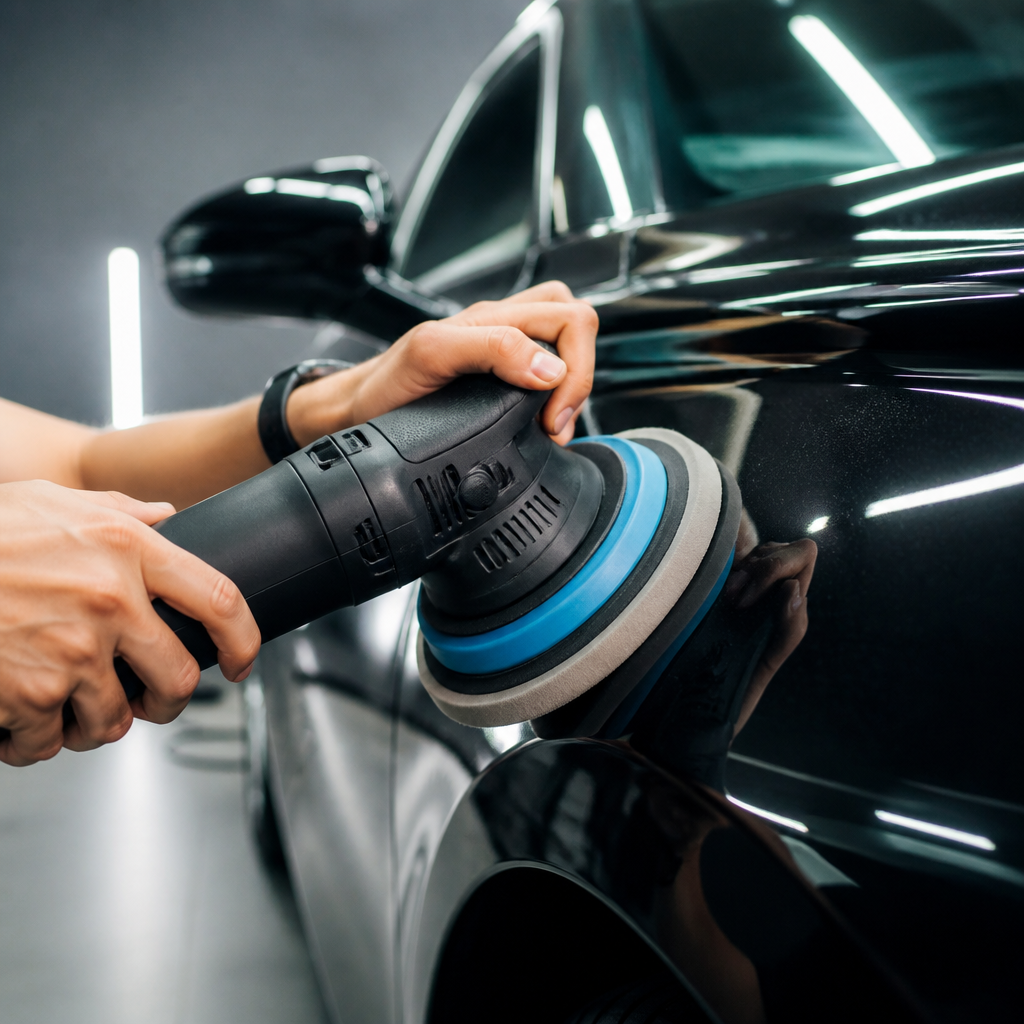
- Paint Correction (Polishing): If your paint has swirl marks, polishing is the next step. For beginners, it's strongly advised to use a dual-action (DA) polisher rather than a rotary polisher. A DA polisher is much safer and more forgiving, reducing the risk of burning through the clear coat. Start with the least aggressive polish and pad combination.
- Protection: Apply a wax or sealant to protect the paint. Carnauba wax offers a deep shine and lasts 4-8 weeks, while synthetic sealants provide more durable protection for 4-6 months. Many detailers layer a sealant first, then top it with wax for both longevity and gloss.
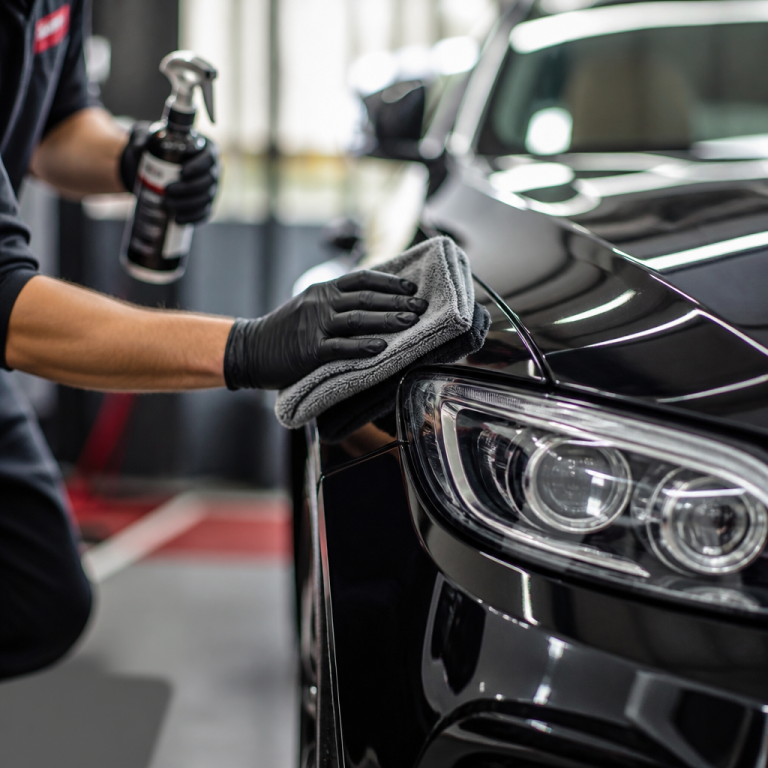
- Finishing Touches: Finish by applying tire dressing and using a plastic restorer on any faded trim. Clean exterior glass last with an ammonia-free cleaner to remove any overspray from other products.
How to Detail a Car at Home Without a Pressure Washer
It is entirely possible to achieve excellent detailing results using just a standard garden hose. A garden hose with an adjustable nozzle set to a jet stream provides sufficient pressure for rinsing. For foam application, alternatives like pump foam sprayers or foam guns that connect directly to a garden hose can create a thick, clinging foam. When detailing without a pressure washer, a crucial adaptation is to increase the pre-soak time. Allowing foam to dwell for 5-7 minutes gives the chemicals more opportunity to break down grime, making the hand wash gentler and more effective. Wheel cleaning also requires a longer dwell time for the cleaner to penetrate and dissolve brake dust before you scrub with brushes and rinse.
How to Detail a Car Interior at Home
Detailing your car's interior is just as important as the exterior for comfort, hygiene, and value. The process should be systematic, starting with removing all loose items and floor mats.
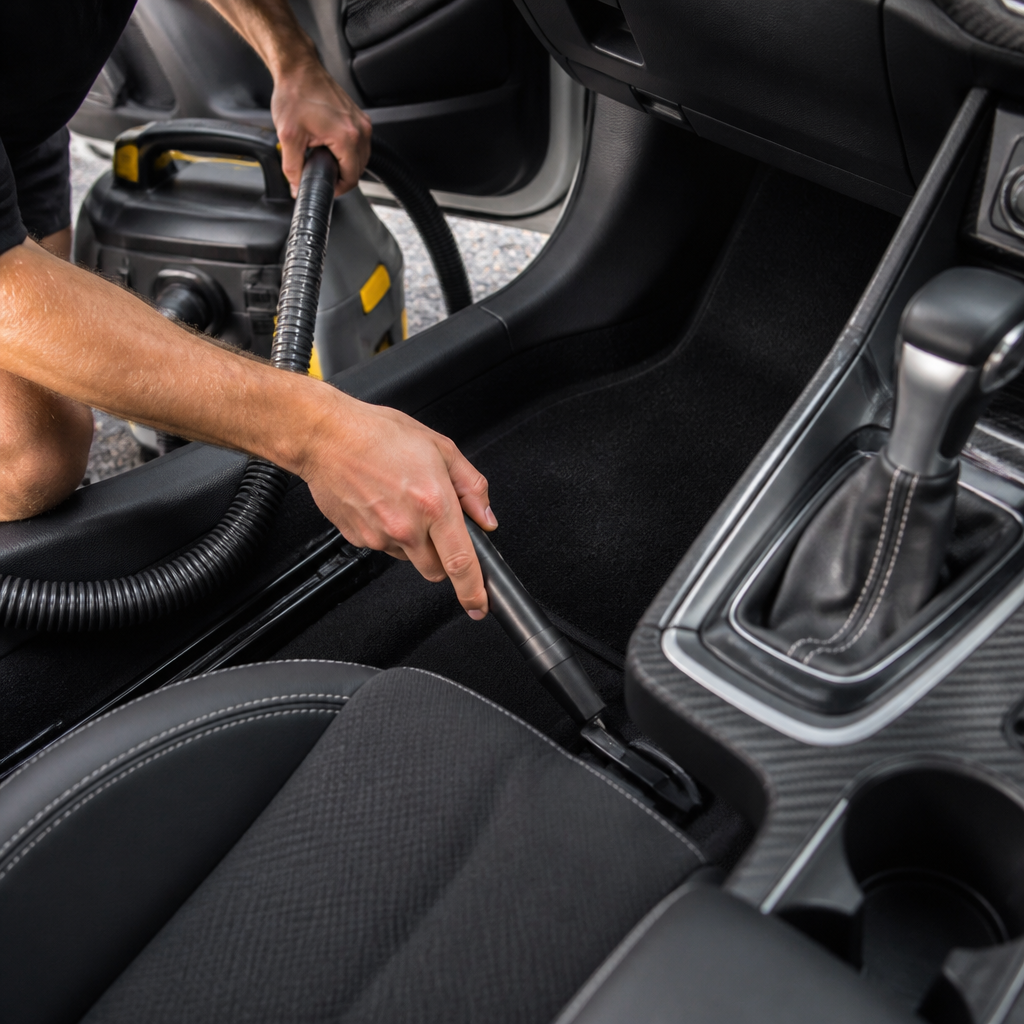
The first critical step is thorough vacuuming. Use a wet-dry vacuum with various attachments to reach every nook and cranny. The crevice tool is indispensable for cleaning tight spaces like seat tracks and console gaps. For leather surfaces, use a pH-balanced leather cleaner and a soft brush, then apply a high-quality leather conditioner to replenish its natural oils and prevent cracking. For fabric upholstery, address stains with a dedicated fabric cleaner, agitating with a brush and blotting the area with a microfiber towel.
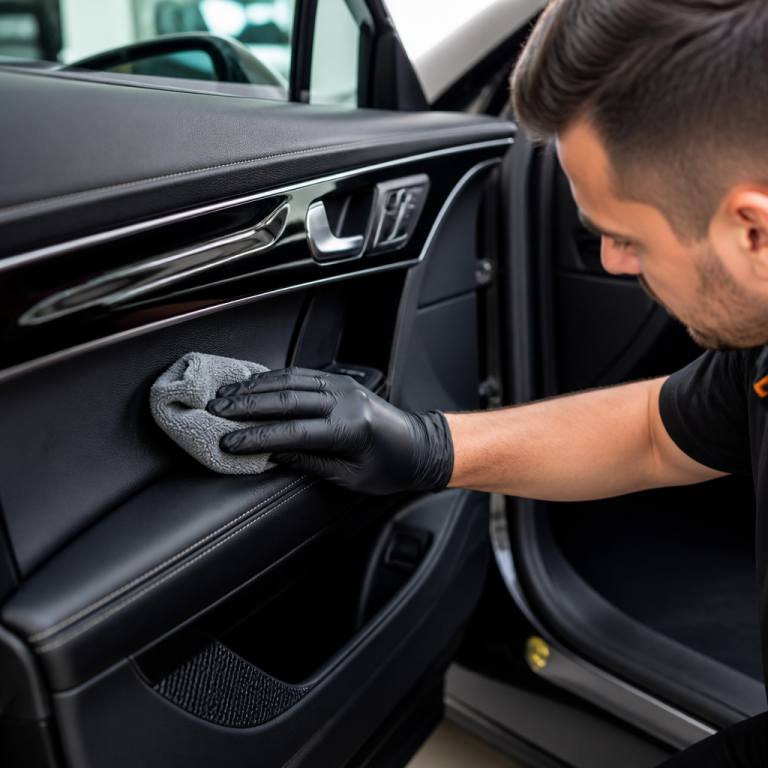
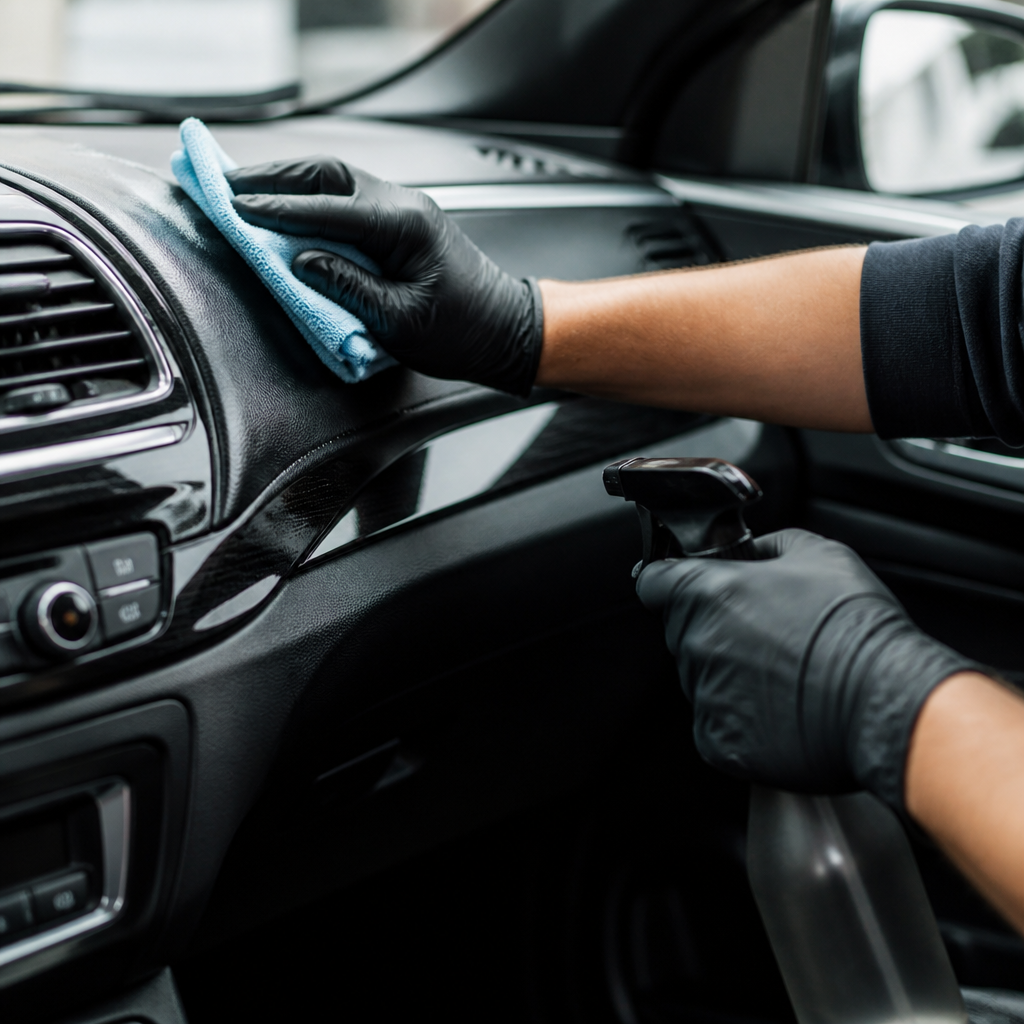
For the dashboard, console, and door panels, spray an interior detailer onto a microfiber towel (not directly onto the surface) to avoid overspray. Avoid greasy, silicone-based products that attract dust.
According to Dr. Lisa Yakas, a microbiologist at NSF International, steam cleaning is an incredibly effective method for deep sanitization and stain removal without harsh chemicals, capable of killing 99.9% of bacteria and viruses.
Interior glass should be cleaned with an ammonia-free cleaner. Use vertical strokes on the inside and horizontal strokes on the outside to easily identify which side has streaks. Finally, use soft-bristle detailing brushes for intricate areas like air vents and buttons. After all cleaning is complete, apply a UV protectant to the dashboard and door panels to guard against sun damage.
How to Detail a Car at Home Like a Professional
Achieving professional-level car detailing results at home requires a blend of advanced techniques, specialized products, and a meticulous approach that goes beyond basic cleaning. It's about understanding the nuances of paint correction, long-term protection, and addressing often-overlooked areas. While it demands more time and investment, the satisfaction of a truly flawless finish and the extended life of your vehicle's surfaces can be incredibly rewarding.
How to Detail a Car at Home Like a Professional
To detail like a professional, you must adopt a more comprehensive approach. This includes advanced techniques like multi-stage paint correction and the application of durable protection like ceramic coatings. Paint correction is a hallmark of professional detailing. This multi-stage process uses a dual-action (DA) polisher with progressively finer polishes to remove 70-90% of swirl marks, scratches, and oxidation. It is a meticulous process, as the clear coat on modern vehicles is quite thin, meaning a car can only safely undergo 3-5 full corrections over its lifetime _before the clear coat becomes too thin_.
The true difference between amateur and professional results lies in the preparation. Professionals dedicate 60-70% of their time to meticulous washing, decontamination, and masking delicate areas, spending only 30-40% on the actual polishing and protection application. To effectively identify paint defects, professional detailers use high-intensity LED work lights to reveal imperfections invisible in normal lighting.
A professional detail also extends to other areas. This includes engine bay cleaning, where a degreaser is used to remove grime while carefully protecting electrical components. Another common service is headlight restoration, which involves wet sanding and polishing oxidized headlights to restore clarity, then sealing them with a UV-resistant clear coat. Investing in professional-grade products from brands like Meguiar's Pro Line or Griot's Garage can also elevate results, as they often contain higher concentrations of active ingredients.
How to Detail a Car at Home Step by Step
The keyword "how to detail a car at home step by step" encompasses the entire detailing process, integrating both exterior and interior procedures into a cohesive workflow. As previously detailed, a comprehensive step-by-step guide involves a logical sequence designed to achieve maximum cleanliness and protection.
To summarize, the complete process begins with the exterior to prevent re-dirtying a clean interior. The exterior process starts with wheels, then a pre-rinse, a two-bucket wash, paint decontamination with a clay bar, drying, optional paint correction (polishing), and finally, applying a protective wax or sealant.
Once the exterior is complete, attention shifts to the interior. This begins with removing all trash and personal items, followed by a thorough vacuuming. Interior surfaces are then cleaned and conditioned with specific products. Fabric is spot-cleaned, glass is wiped down, and a UV protectant is applied to the dashboard and door panels.
Detailing your car at home is a rewarding endeavor that offers both aesthetic and practical benefits. By understanding the necessary supplies, dedicating the appropriate time, and applying the correct techniques, you can achieve results that rival professional services. It's a skill anyone can master with a little patience and the right guidance, allowing you to maintain your car's beauty and value while providing a deep sense of accomplishment.

Jake Morrison writes about DIY car care at CarCareNote. He’s been detailing cars in his Ohio driveway for over a decade and shares what actually works at home.